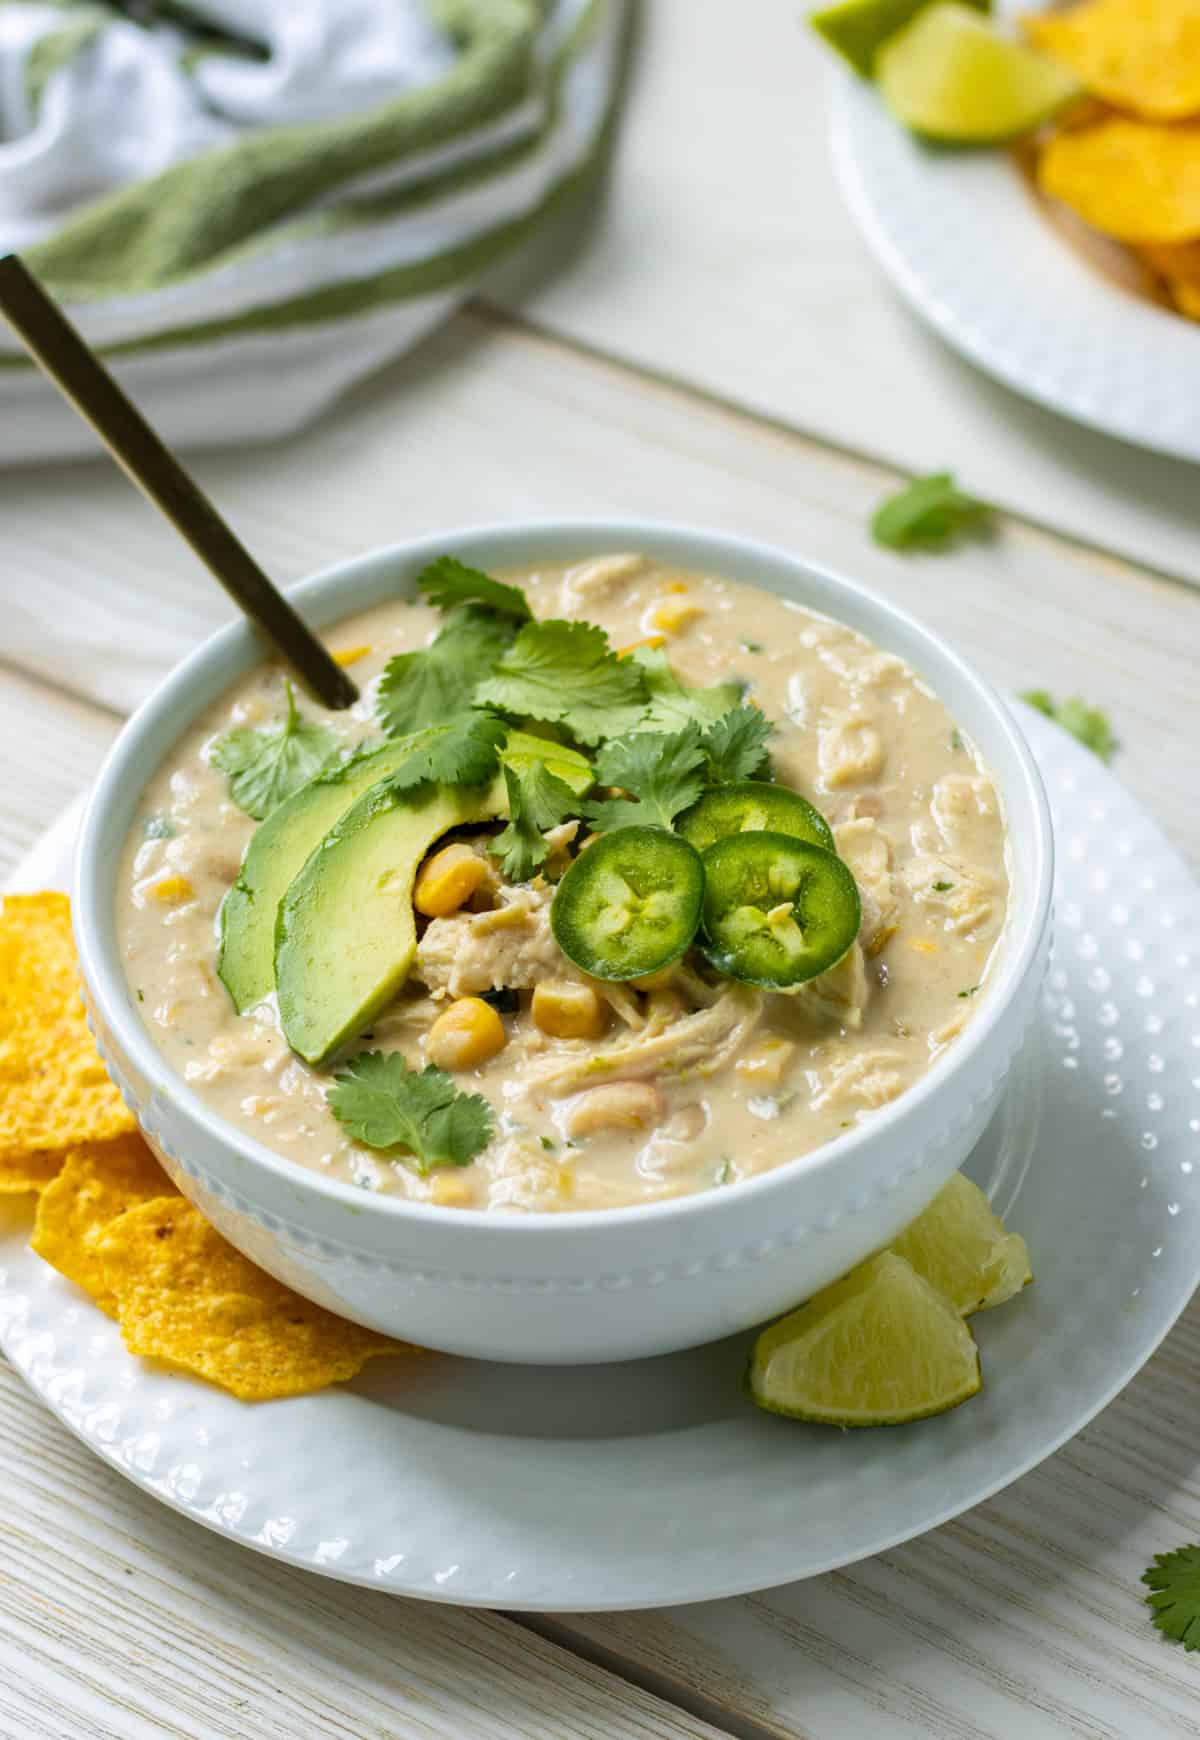
Creamy White Chicken Chili
This Creamy White Chicken Chili is comfort in a bowl. Loaded with chicken, beans, and corn, and a subtle heat from the jalapenos, this chili is sure to warm you right up. Finished with cream cheese to give it a smooth creamy taste, you’ll want to tuck into a bowl of this chili all year long.

Would you like to save this recipe?
Why You’ll Love This Recipe
- This white chicken chili is exactly what comfort food should be. It’s hearty, easy to make, and oh so delicious!
- It can be served as is or with toppings like avocado slices, jalapeño slices, tortilla strips, lime wedges, sour cream… the list is endless!
- You could also serve it with these easy Cheddar Jalapeño Biscuits!
Recipe Ingredients
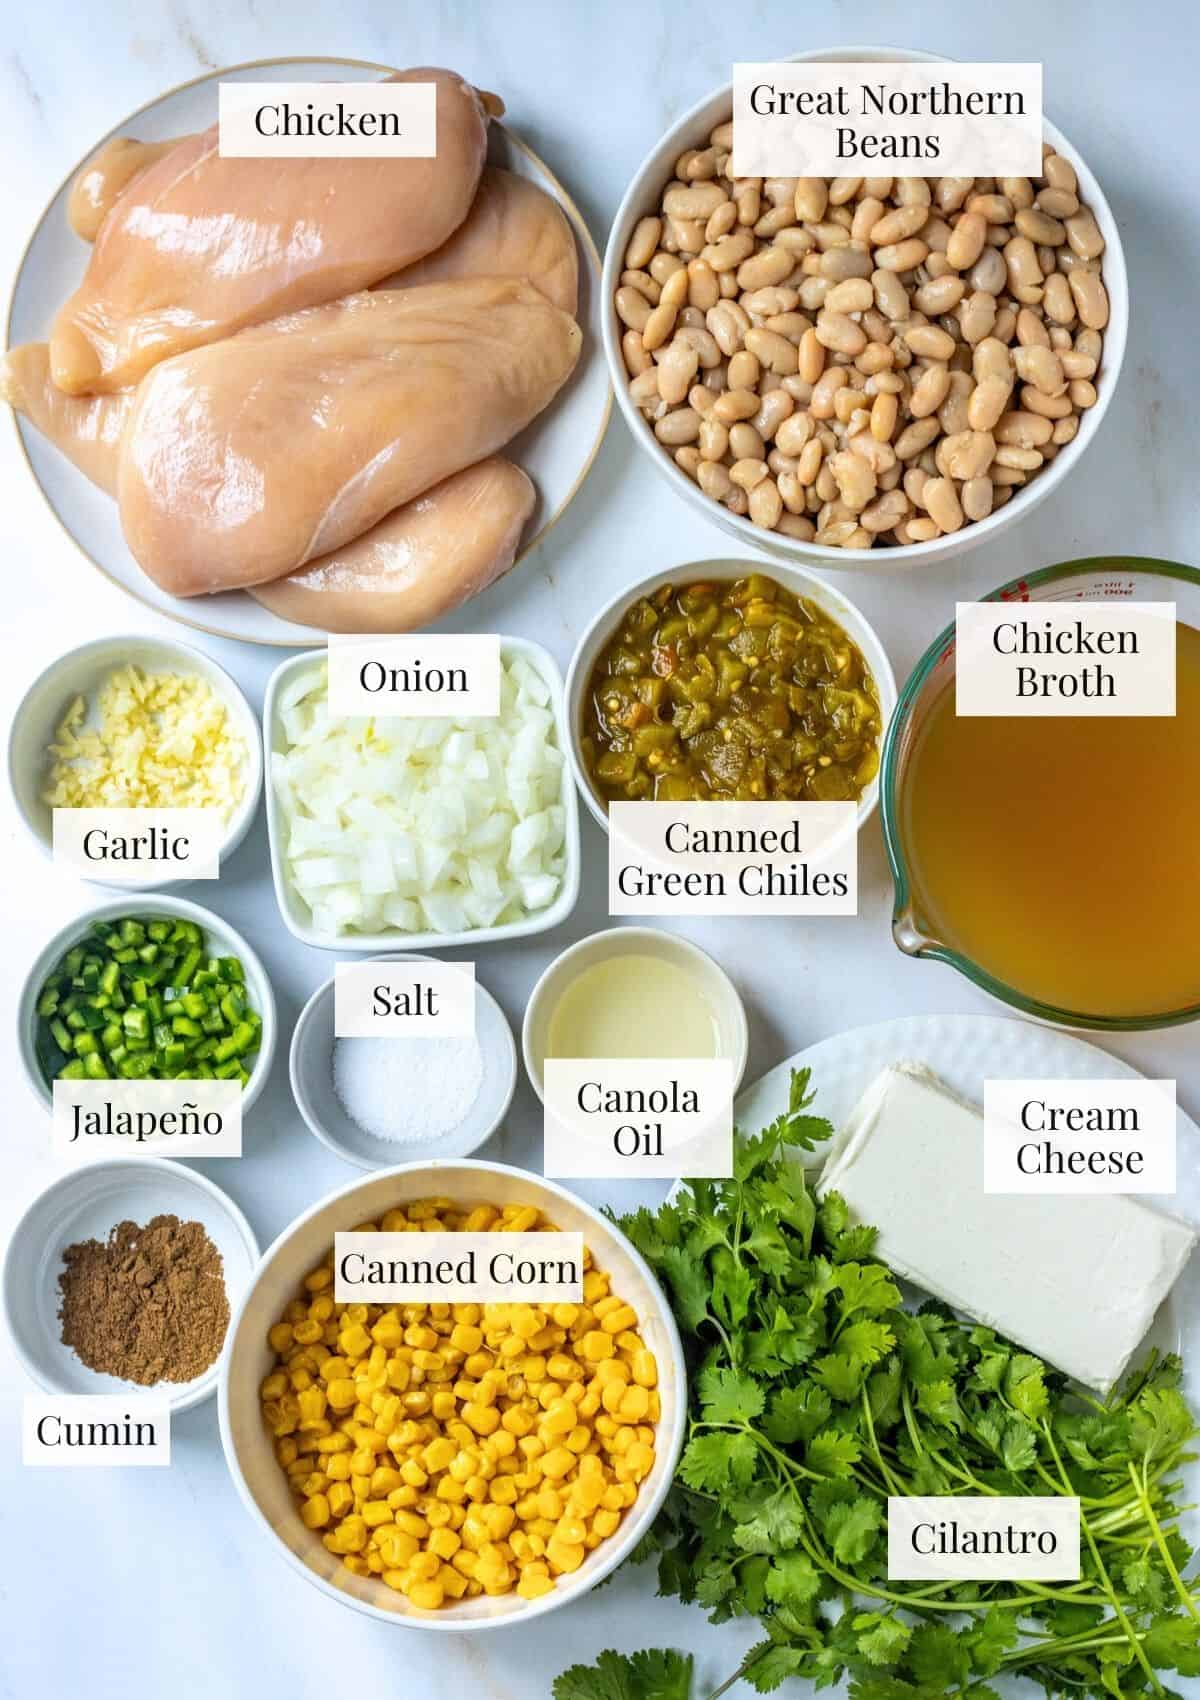
Ingredient Notes
- Any boneless skinless chicken will work well.
- I use canned corn in this recipe since I typically make it in the fall and winter when corn is out of season. But you could absolutely use fresh or frozen corn instead. Fire-roasted corn would also be great!
- Diced jalapeño gives this chili a nice background heat that isn’t overpowering but adds a little kick. If you like a very spicy chili add 2 or 3 jalapenos and if you don’t like spice at all just leave it out or use poblano peppers.
- Choose regular or low-sodium chicken broth based on your preferences. If you opt for low-sodium, you may find that you need to add a bit more salt at the end to balance the flavors.
- Great North Beans beans have a nice firmness to them that provides a great texture in the chili. You can also use cannellini beans, pinto beans, navy beans, or any other white bean that you like.
- Cream cheese is what gives this chili its creamy goodness. It provides a nice tang and smoothness that really takes the whole dish over the top.
Step-by-Step Instructions
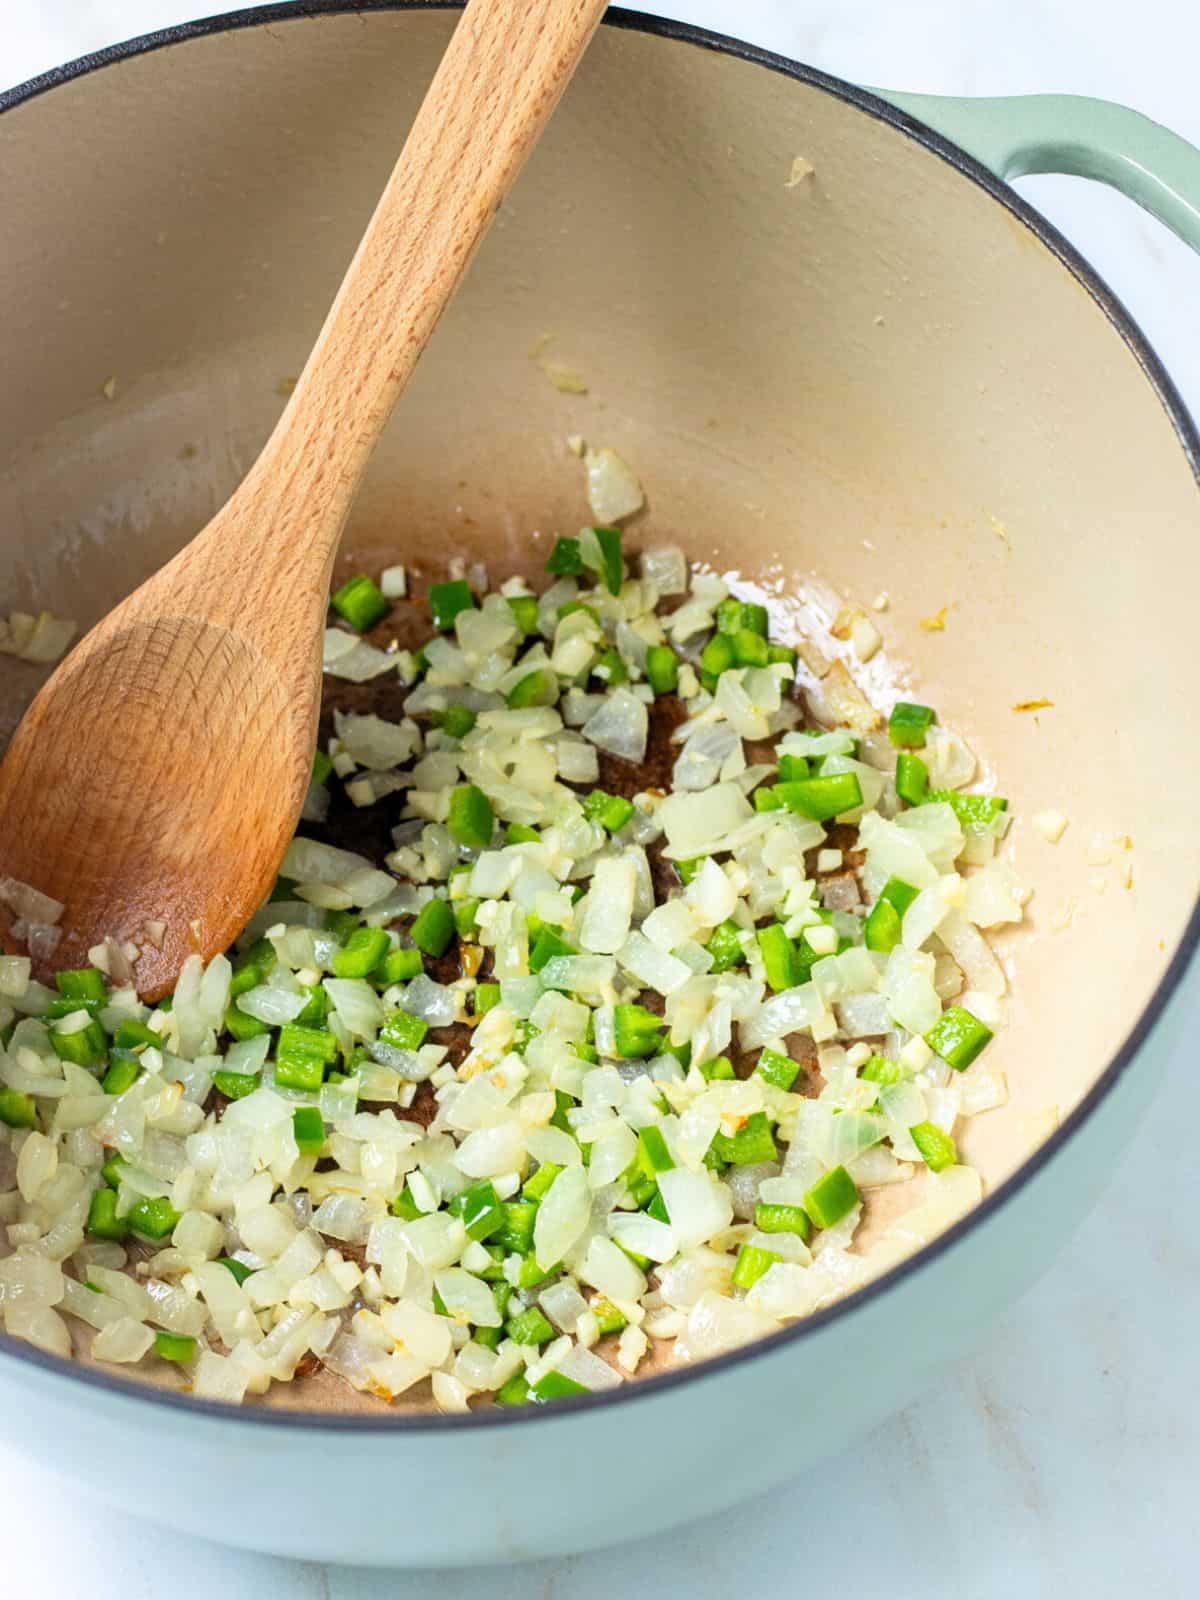
Step 1:
Heat the canola oil in a Dutch oven or large pot. Add the onion and sauté for about 5 minutes, or until it has softened and just starts to turn brown. Add in the garlic and jalapeno and sauté for another minute, stirring often.
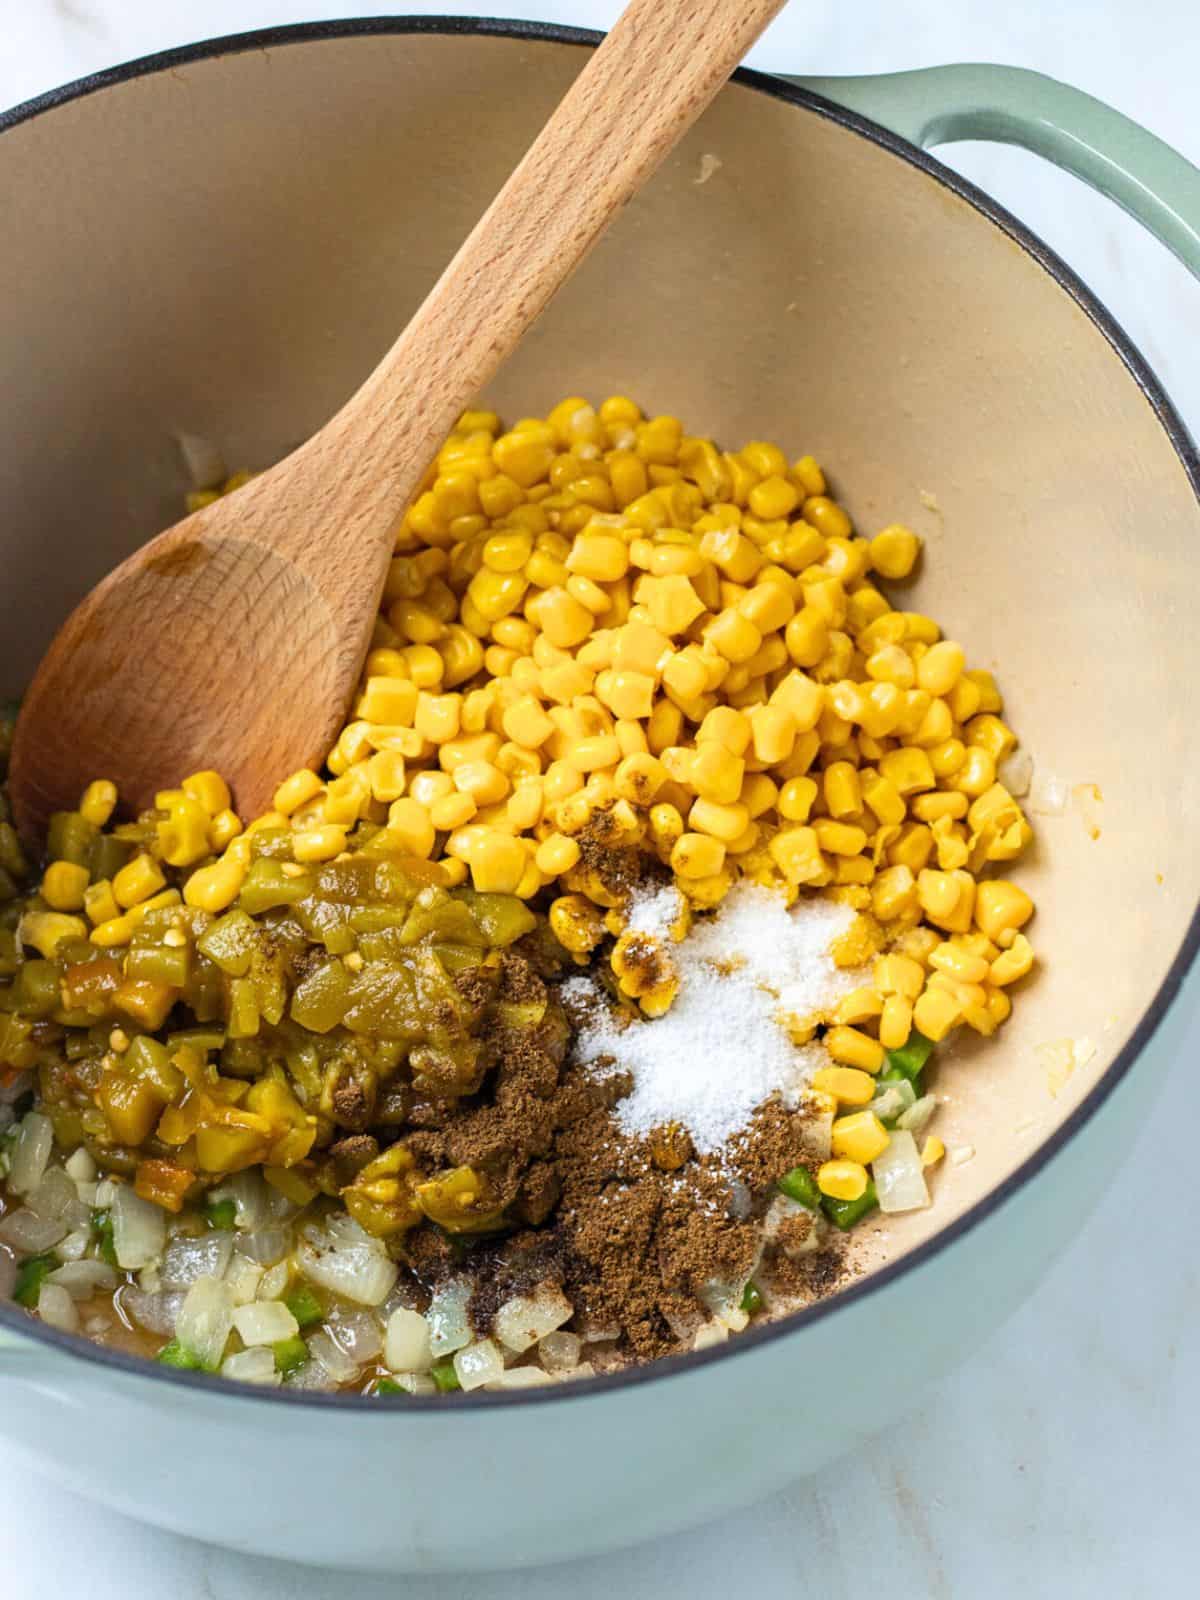
Step 2:
Add the corn, chiles, cumin, and salt to the pot and stir well to combine.
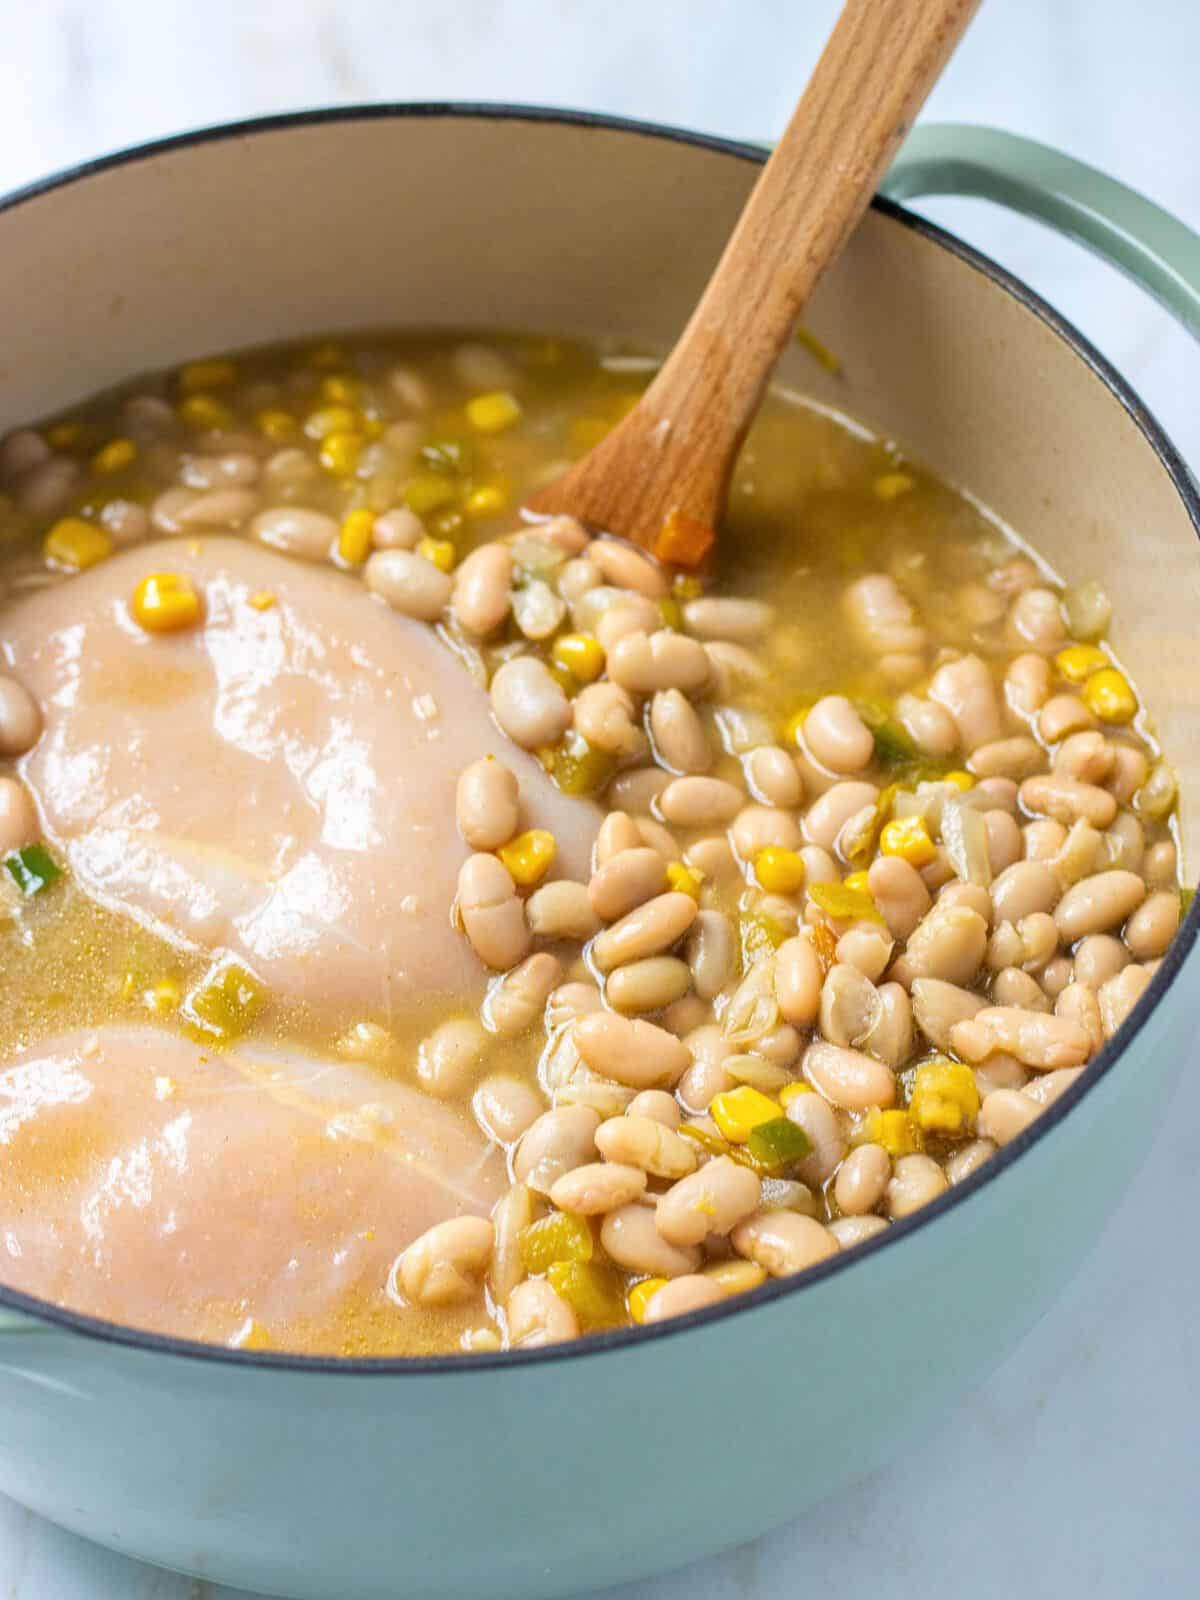
Step 3:
Add the chicken broth and bring it to a boil over medium-high heat. Add the chicken and beans, lower the heat, and simmer partially covered for 30 minutes.

Step 4:
Remove the chicken to a plate and, using two forks, shred it into bite-sized pieces. If you would like a thicker chili, mash some of the beans with a wooden spoon or potato masher. Then, return the chicken to the pot.

Step 5:
Add the cream cheese and cilantro and cook another 5 minutes, stirring until the cream cheese has fully melted into the chili.

Step 6:
Serve the finished chili with your favorite toppings and enjoy!
Topping Ideas
- Sliced fresh or jarred jalapenos
- Fried tortilla strips
- Sliced avocado
- Chopped cilantro
- Crushed tortilla chips
- Sour Cream
- Shredded cheese
- Hot Sauce
Storage & Reheating
Storage
Keep leftover chili in an airtight container in the fridge for up to 4 days.
If some of the liquid separates, just mix it back in before serving.
Reheating
This chili reheats really well in the microwave. Just put it in a microwave-safe bowl, cover it with a paper towel, and reheat in 30-second bursts, stirring between each one, until it is to the desired temperature.
It can also be reheated on the stovetop over medium-low heat until heated through.
Freezing
Transfer the fully-cooled chili to a freezer-safe container or bag, preferably in individual serving sizes. Freeze for up to 3 months. Allow the chili to thaw in the fridge before reheating.
Frequently Asked Questions
Yes! Add everything but the cream cheese and cilantro into the slow cooker and give it a stir to combine. Cook on low for about 4 hours. Remove the chicken and shred it. Then, return the chicken along with the cream cheese and cilantro and stir to combine. Serve once the cream cheese has melted.
Wearing gloves is the best solution for avoiding getting jalapeño juice on your hands. Also, be sure to use a sharp knife so that you are cleanly cutting the peppers. You could also run them through a small food processor so that you don’t have to touch them at all.
The cream cheese does a great job of adding creaminess. But, you could also add a spoonful of sour cream or some freshly shredded Monterey Jack cheese at the end to make it cheesy.
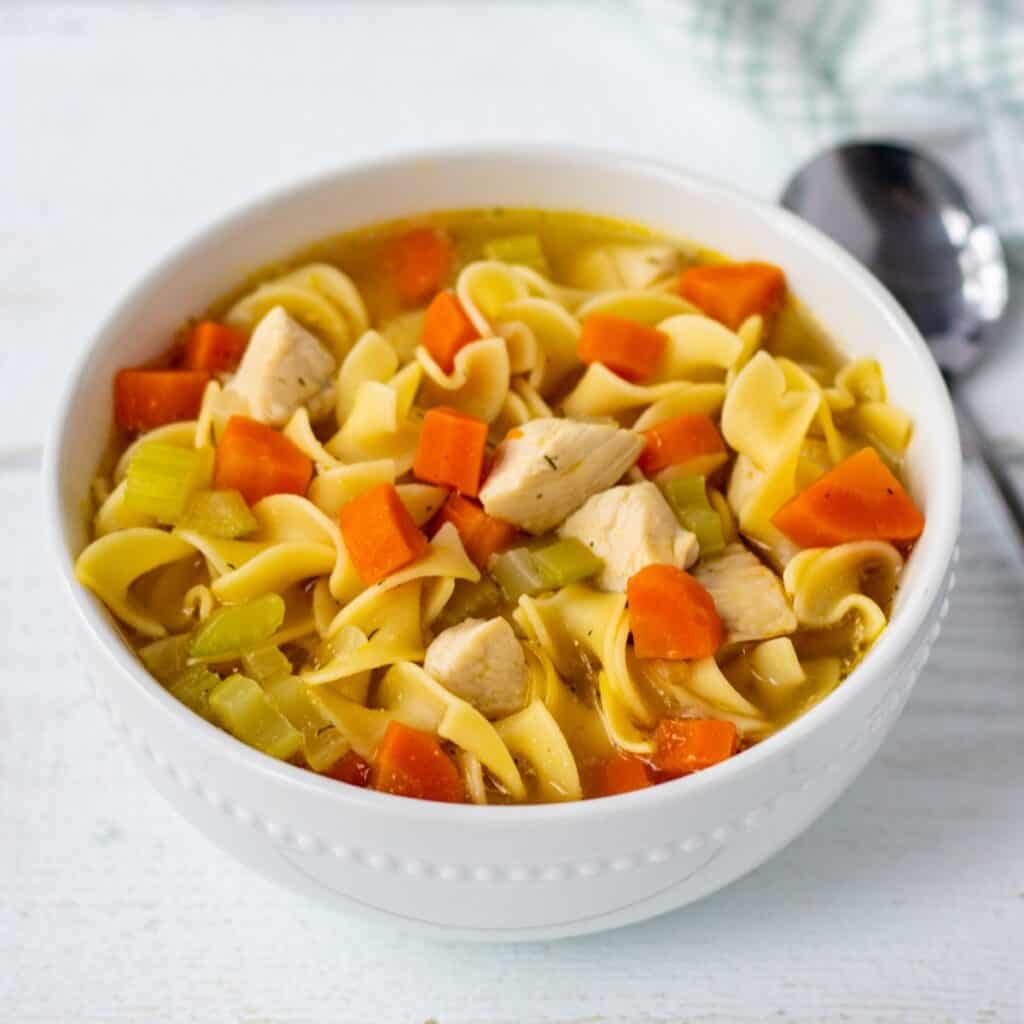
More Soup & Stew Recipes You’ll Love!


Creamy White Chicken Chili
Ingredients
- 1 tablespoon canola oil
- 1 cup onion diced
- 3 cloves garlic finely minced
- 1 jalapeno ribs and seed removed and diced
- 15 ounces canned corn drained
- 8 ounces canned chiles mild or spicy
- 1 1/2 teaspoons cumin
- 1 1/2 teaspoons kosher salt
- 3 cups chicken broth
- 2 pounds boneless skinless chicken
- 3 (15-ounce) cans great northern beans drained and rinsed
- 8 ounces cream cheese cubed and at room temperature
- 1/2 cup cilantro chopped
Instructions
- In a dutch oven or large pot, heat oil over medium heat.
- Once the oil is hot, add the diced onion and sauté until it is softened and slightly browned, about 5 minutes. Add the garlic and jalapeños and saute for another minute.
- Stir in the corn, chiles, cumin, and salt.
- Pour in the chicken broth and bring to a gentle boil over medium-high heat. Add the chicken and beans, partially cover the pot, and simmer over medium-low heat for 30 minutes.
- Remove the chicken from the pot and, using two forks, shred the chicken into bite-sized pieces.
- Meanwhile, allow the chili to continue simmering uncovered. At this point, if you prefer a thicker chili, use a potato masher or a large spoon to mash about half of the beans.
- Return the shredded chicken to the pot and add the cream cheese and cilantro. Cook another 5 minutes stirring until the cream cheese has fully melted into the chili.
- Serve warm with desired toppings.
Notes
- Store the chili in an airtight container in the fridge for up to 4 days.
- Reheat covered in the microwave in 30-second bursts or on the stove over medium-low heat until warmed through.
- Sliced fresh or jarred jalapenos
- Fried tortilla strips
- Sliced avocado
- Chopped cilantro
- Crushed tortilla chips
- Sour Cream
- Shredded cheese
- Hot Sauce
I really loved that you had step by step images on this post.
Thank you! I always like seeing photos of the process so I know I’m doing it correctly and wanted to provide that for my readers as well.
Wow! That looks so delicious. Perfect for dal.
It’s really is the perfect way to warm up when the weather turns cold!