Homemade Pizza Dough
This Homemade Pizza Dough is chewy, pillowy, and flavorful. And, it’s sturdy enough to hold up to whatever toppings you’re craving! You’ll love how easy it is to make as you need it but it can also be kept in the freezer so pizza night can be any night!
Would you like to save this recipe?
Why You’ll Love This Recipe
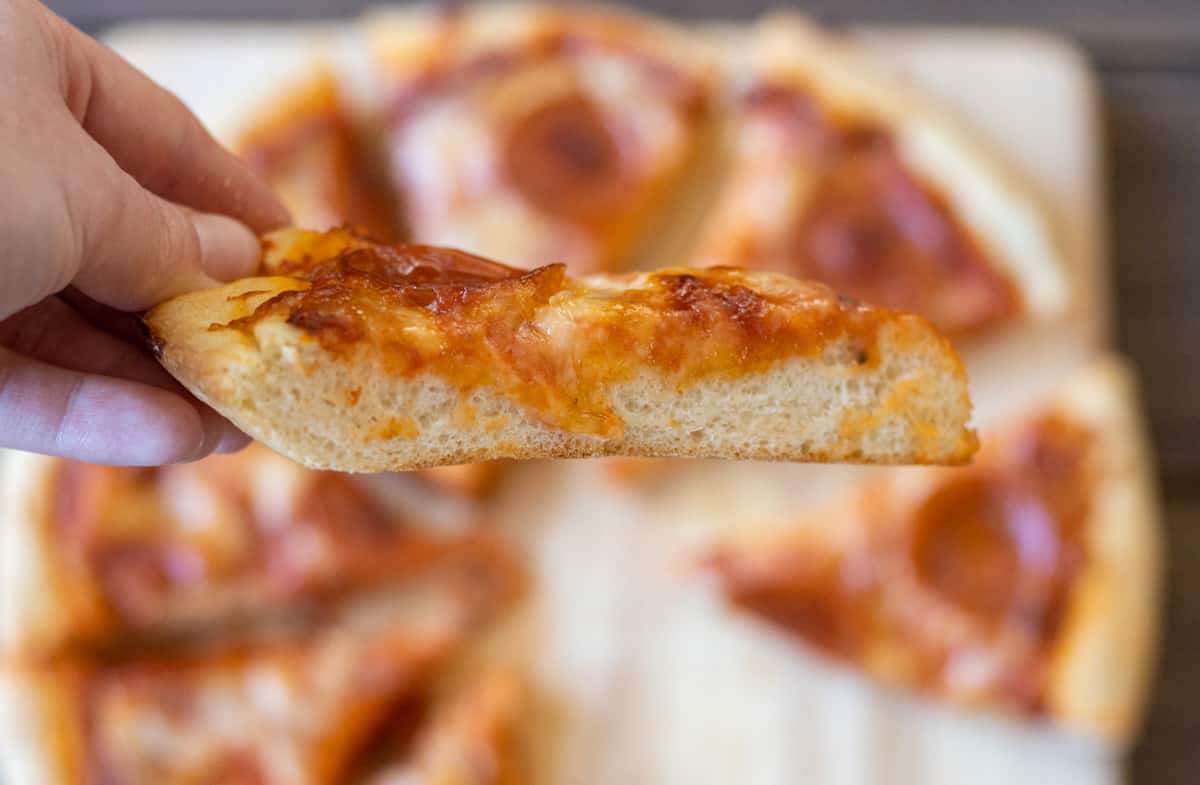
- This pizza dough produces a thick chewy crust that can hold up to any toppings you throw at it.
- The bottom gets perfectly crisp without being tough.
- You can freeze the dough so it’s ready to go when you want it (though you will need to thaw it first).
Recipe Ingredients
Flour – All-purpose flour will do just fine here. No specialty flours needed. Protein and gluten are the components of flour that make pizza crust chewy and there’s enough of both in all-purpose flour to yield great results.
Warm Water – It is crucial for activating the yeast that the water be warmed to about 110 degrees F. If the water is too cold, the yeast will struggle to activate and if it is too warm it can kill the yeast. I strongly recommend using a thermometer to ensure you’ve reached the right temp.
Active Dry Yeast – Yeast is needed to give the dough its rise. Active dry yeast will do the job in about 2 hours while also helping the dough to develop great flavor.
Sugar – A bit of sugar in the warm water gives the yeast something to feed on. A bit more sugar in the dough helps to round out the flavor. It’s not a lot of sugar and you could just leave it out if you prefer but I think it produces a superior dough.
Extra Virgin Olive Oil – Oil increases dough’s elasticity and gives it more flavor. I prefer to use extra virgin olive oil in pizza dough but regular olive oil will also work.
How To Make Homemade Pizza Dough
Note: Full list of ingredients, their amounts, and instructions can be found in the recipe card below.
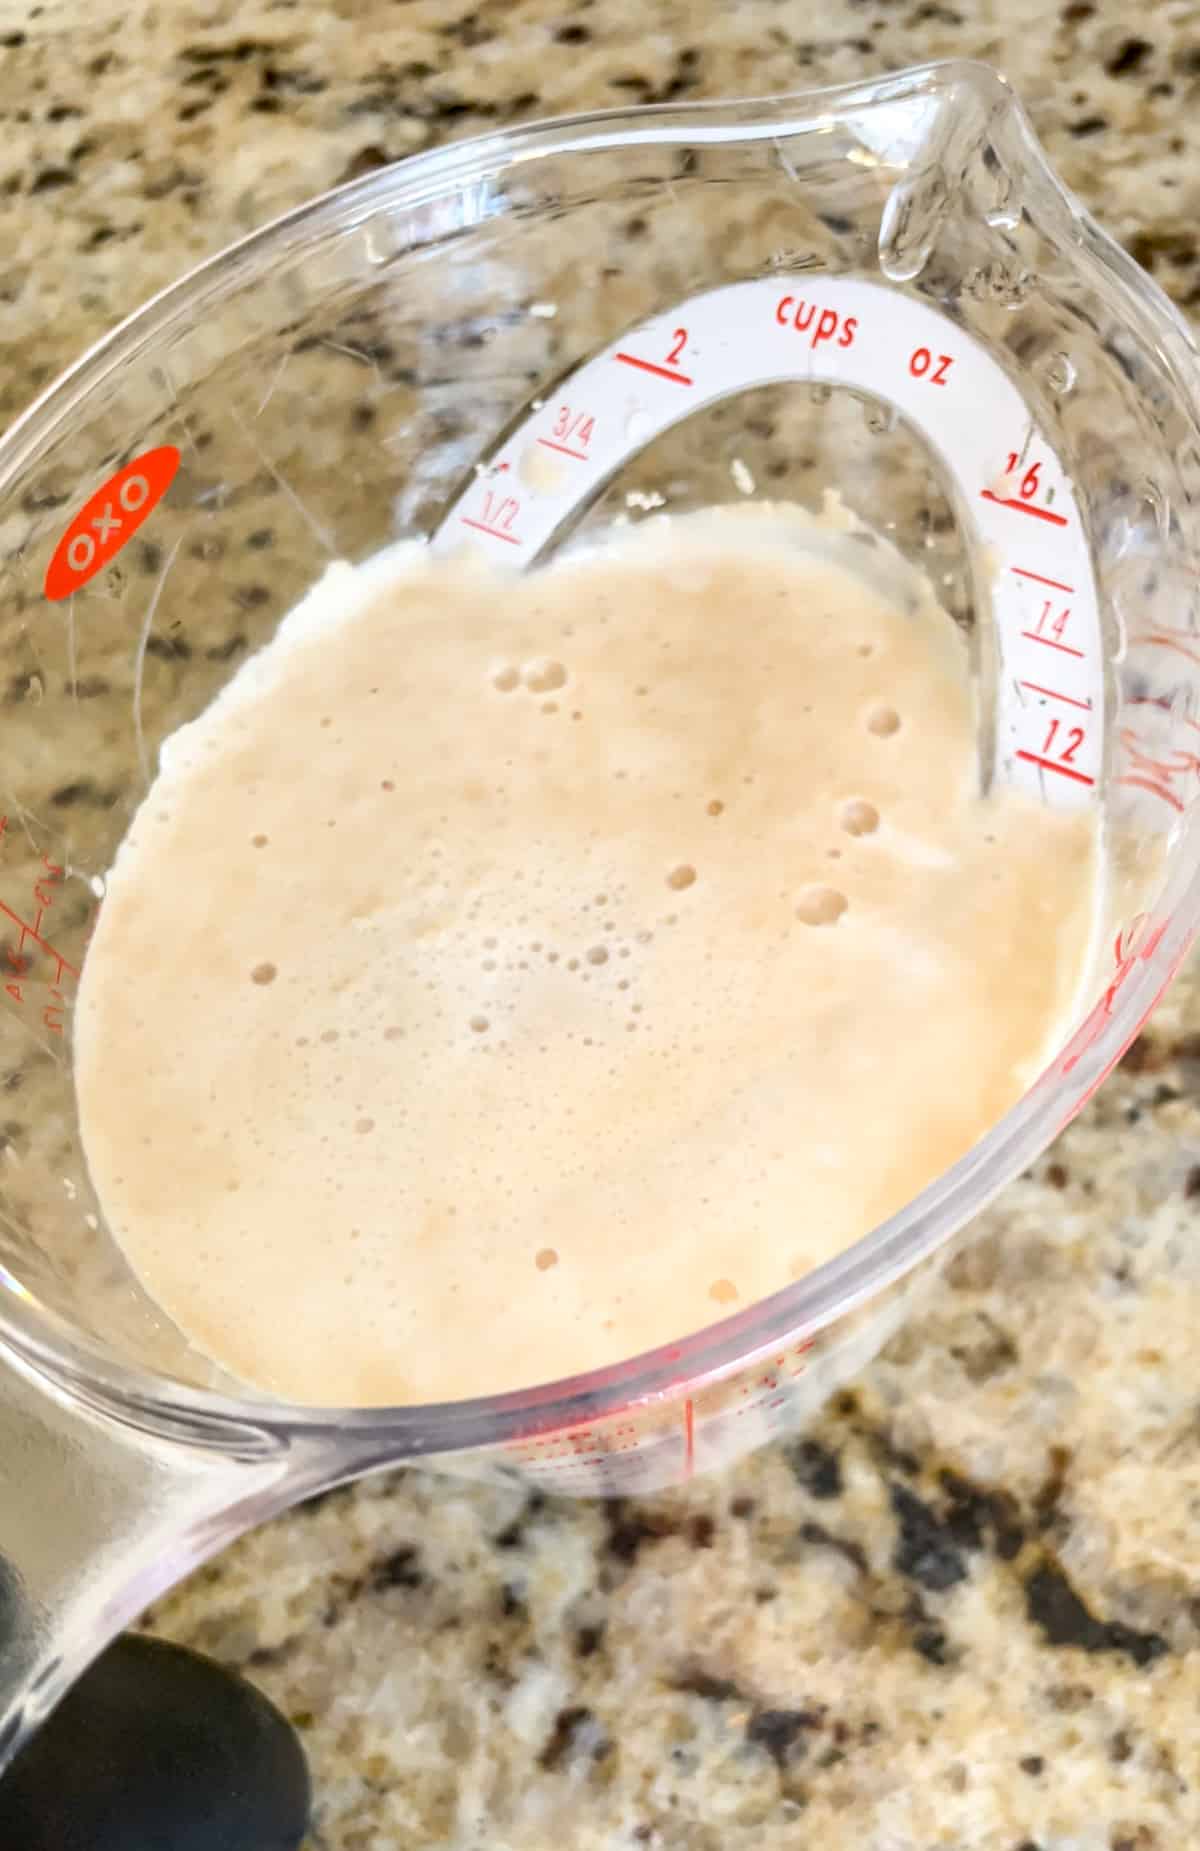
Step 1:
Add the yeast and some of the sugar to the warm water and stir. Set aside until foamy, about 5 minutes.
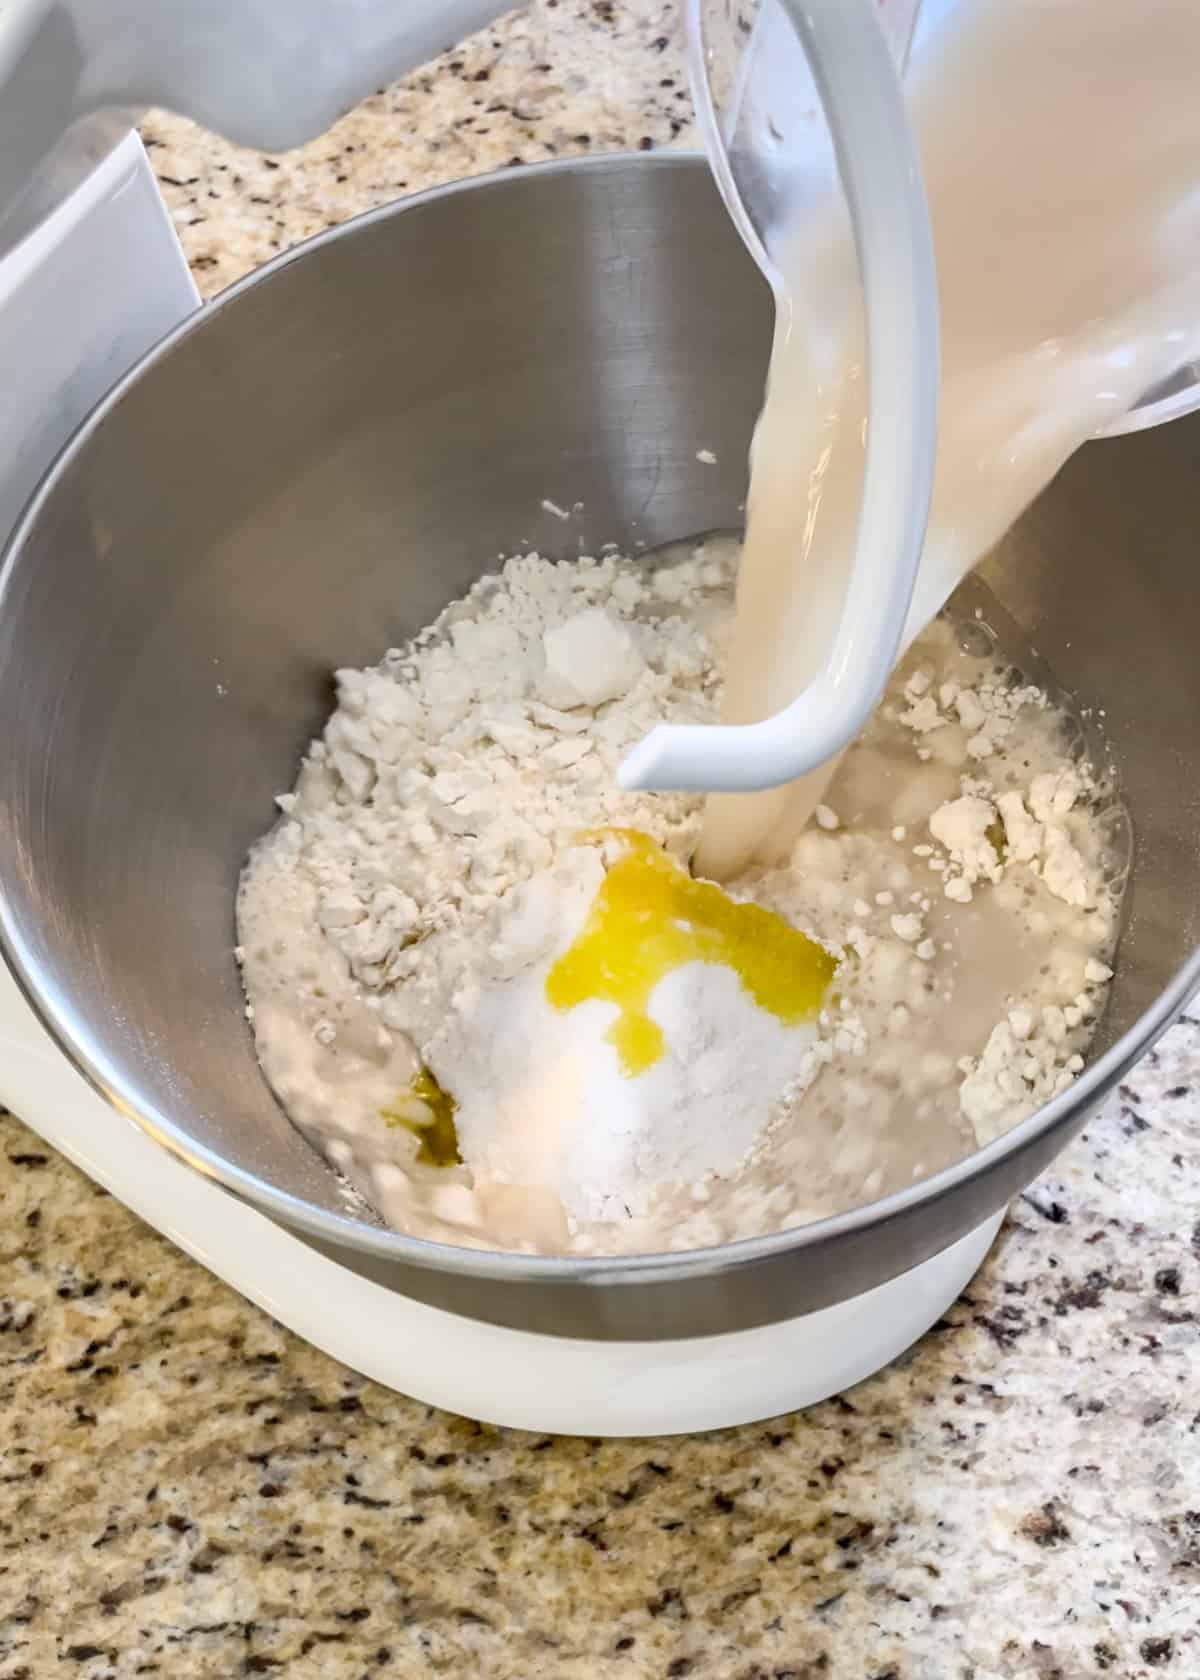
Step 2:
In the bowl of a stand mixer fitted with the dough hook, add the flour, the rest of the sugar, the salt, and the extra virgin olive oil. Pour in the bloomed yeast water.
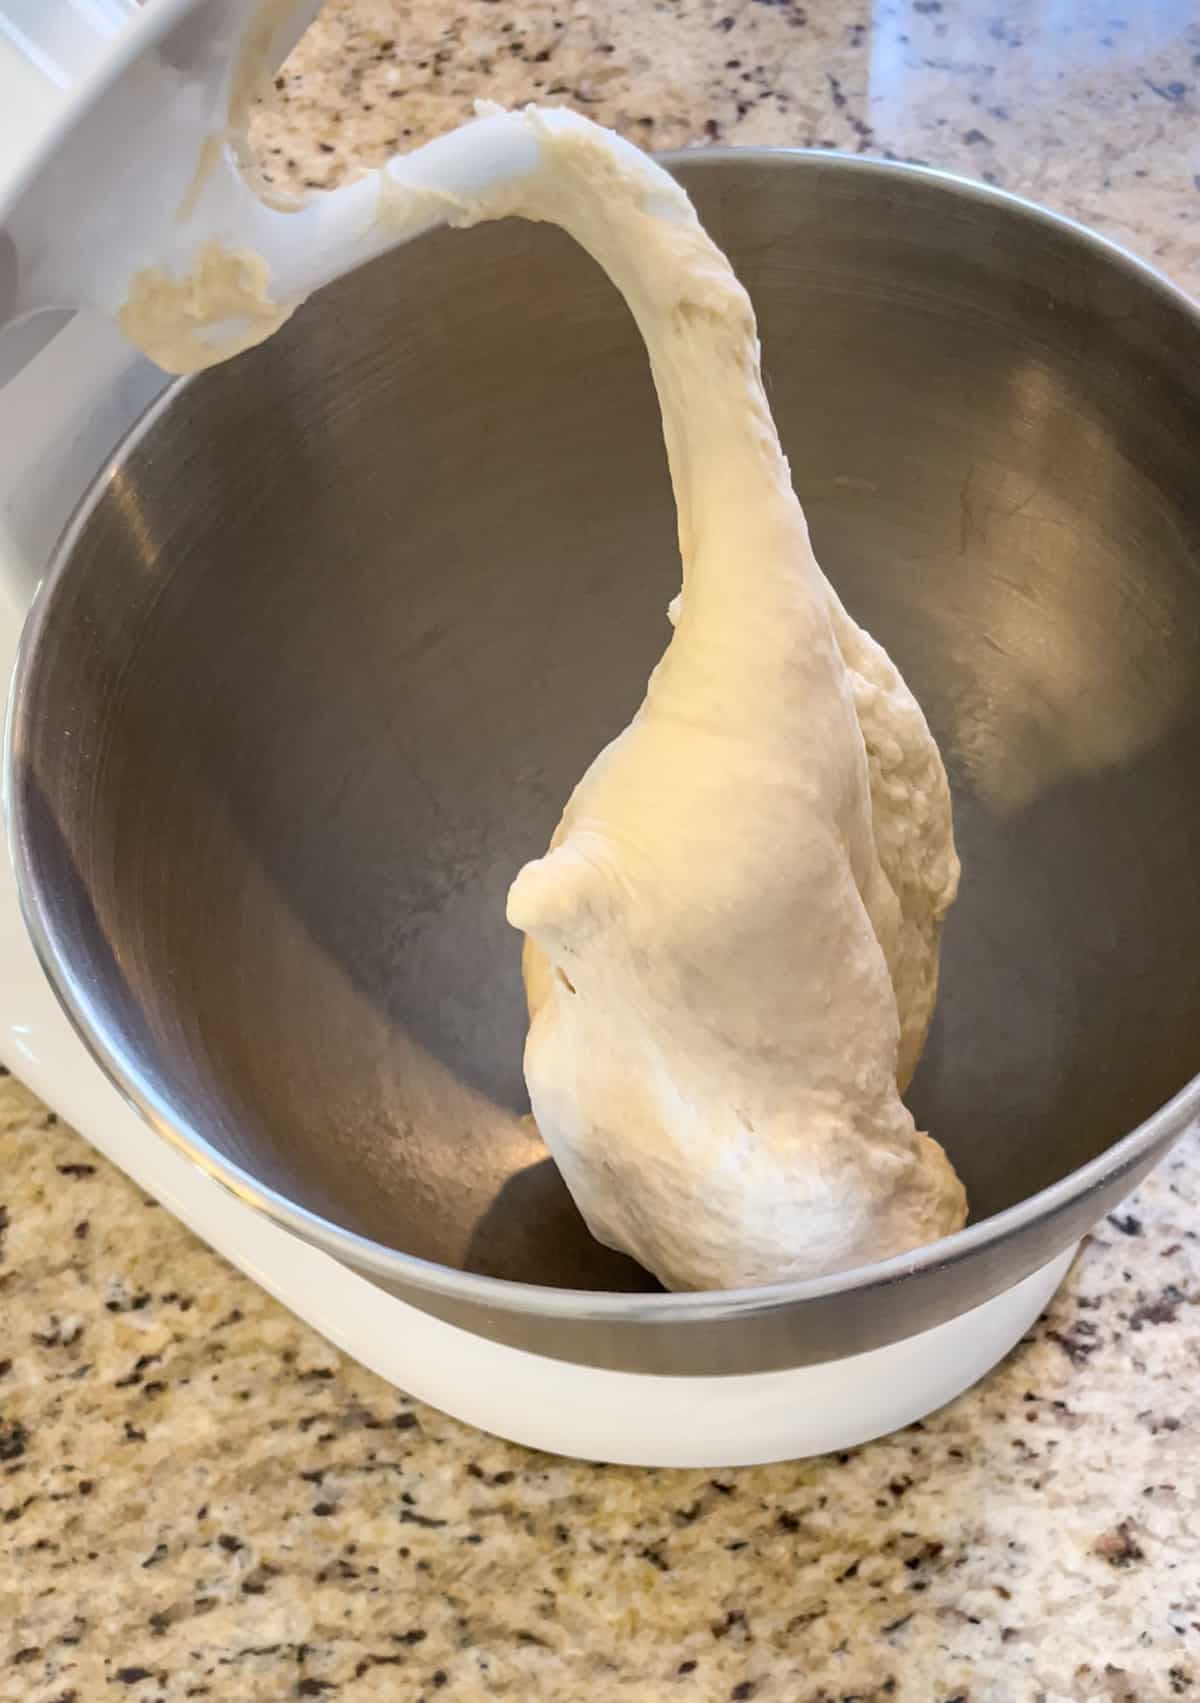
Step 3:
Stir on low for 5 to 7 minutes until the dough has come together and is smooth. The dough should be tacky but not sticky. If it is very sticky, add a bit more flour and continue stirring.
Step 4:
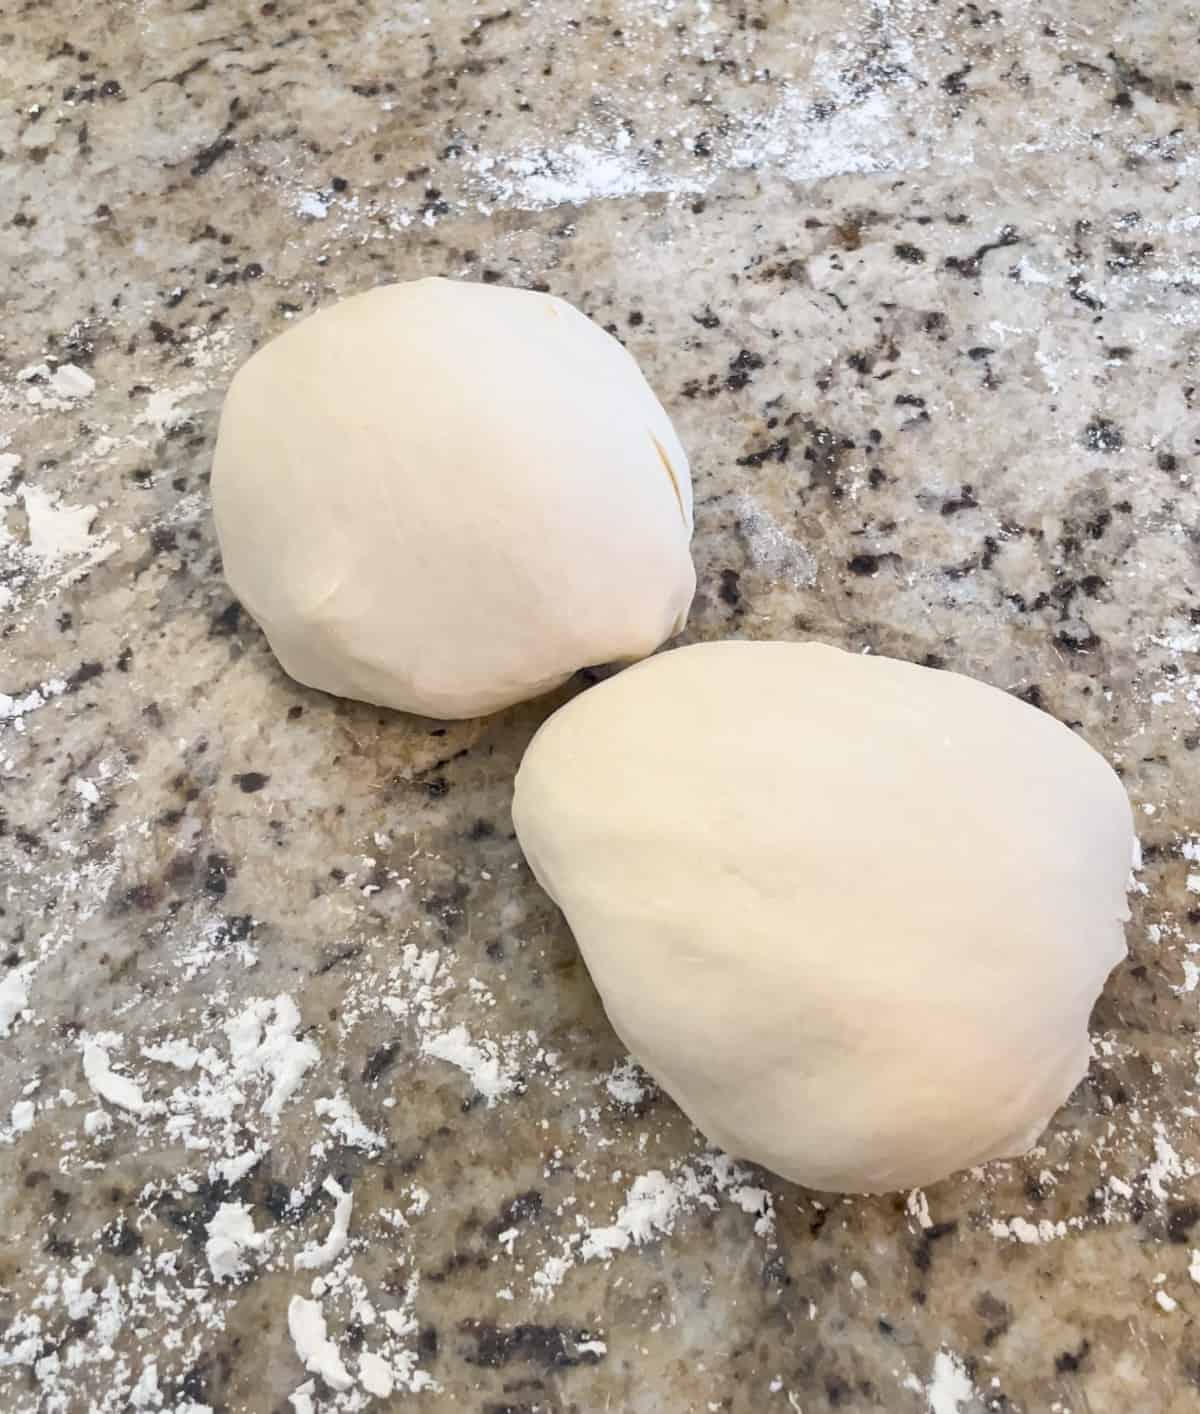
Dump the dough out onto a lightly floured surface and knead by hand for a minute or two until the dough forms a ball. Cut the dough into two equal pieces.
Step 5:
Place each dough ball into a lightly oiled bowl. Rotate them around so that they become completely coated. Cover the bowls and place them somewhere they won’t be disturbed. Allow the dough to rise until doubled in size, about 2 hours.
Step 5:
Once the dough has risen, you can do a few things with it:
- Continue on to making your pizza.
- Add another coat of olive oil and cover the bowl with plastic wrap and keep it in the fridge to use within 3 days.
- Coat the dough with a bit more olive oil, place it into a freezer-safe container or freezer bag and keep in the freezer for up to 3 months.
- Make the pizza on a baking sheet then flash freeze the whole thing for 2 hours. Then, wrap the pizza in plastic wrap and keep it in the freezer for up to 3 months.

Items You May Need
Thermometer
Stand Mixer
Tips & Tricks
- Place the dough somewhere it won’t be disturbed while its rising. I like to place them in the microwave.
- Give the dough the time it needs to rise, about 2 hours. Trying to rush the process will result in a dough that is more difficult to work with and has developed less flavor.
Storage & Reheating
If you’re making the dough in advance, you can chill it in the fridge after it has risen for up to 3 days. Pull the dough out of the fridge about 1 hour before you want to start assembling the pizza.
If you want to freeze the dough balls, keep them in freezer-safe containers or plastic freezer bags for up to 3 months. Then, pull them out to thaw in the fridge overnight or at least 8 hours before you need them.
Another option is to roll out the dough on a baking sheet, add the toppings, then freeze the whole thing for about 2 hours. Then, you can wrap the assembled pizza in plastic wrap and keep frozen for up to 3 months. Just make sure it’s well wrapped so that it doesn’t get freezer burn.
When you’re ready to cook the frozen pizza, you can just cook it from frozen on a baking sheet at 450 degrees F for about 15 minutes.

Recipe FAQs
Technically, no. You could knead the dough with floured hands until it comes together. But, it’s certainly much easier to do with a stand mixer and I personally think every kitchen could benefit from having one!
Sure! The dough will rise faster if you use instant yeast but I still recommend allowing the dough to rise the full 2 hours so that the flavors can fully develop.
You don’t have to proof the yeast first but it does serve two purposes. One, it lets you know for sure that your yeast is still alive. Two, it activates the yeast to start working sooner.
Other Recipes You’ll Love!
Cast Iron Buffalo Chicken Pizza
Soft Pretzel Bites with Champagne Honey Mustard Dip
Did You Make This Recipe?
I’d love to hear about it! Please leave a star rating ⭐️ ⭐️ ⭐️ ⭐️ ⭐️ and comment below!
Let’s Get Social!
I love seeing your photos! If you make this recipe don’t forget to mention @ThisHomeKitchen and tag #thishomekitchen on Instagram!
You can also follow me on Pinterest, Facebook, and Youtube!
Subscribe to My Newsletter!
Get my newest recipes, kitchen tips and tricks, and the latest news right in your inbox!

Homemade Pizza Dough
Ingredients
- 2 1/4 teaspoons active dry yeast 1 packet
- 3 teaspoons granulated sugar divided
- 1 1/3 cups warm water 108-112 degrees F
- 3 1/2 cups all-purpose flour spoon and level
- 1 tablespoon sea salt
- 3 tablespoons extra virgin olive oil
Instructions
- Stir the yeast and 1 teaspoon of sugar into the warm water and set aside until foamy, about 5 minutes.
- In the bowl of a stand mixer fitted with a dough hook, add the flour, salt, the rest of the sugar, and the oil. Pour in the yeast water and begin mixing on low. Mix for 7 to 8 minutes until the dough comes together and becomes smooth.
- Dump the dough out onto a lightly floured surface and continue kneading for another minute or until the dough forms a ball.
- Cut the dough into two pieces and shape those into balls. Place each one in lightly oiled bowls turning to coat all sides.
- Cover the bowls and keep them somewhere that they won't be disturbed. Allow the dough balls to rise until doubled, about 2 hours.
- Once the dough has risen you can go on to making the pizza recipe or keep the dough for later (see the directions in the notes).