Lemon Bars
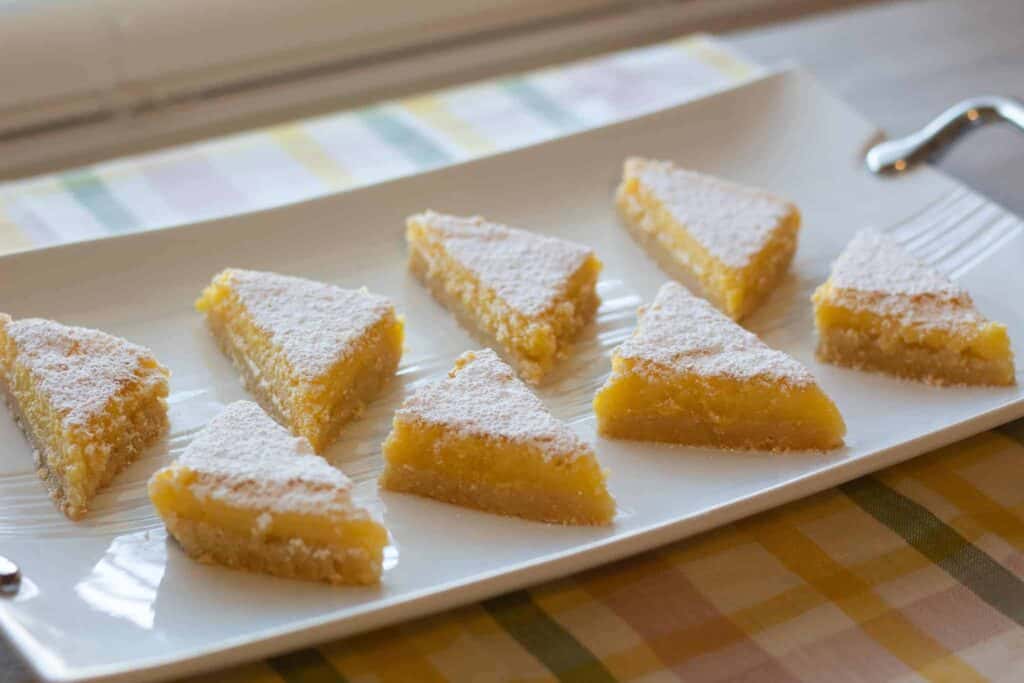
These Lemon Bars combine both lemon juice and zest to really amp up the lemon flavor. Sprinkled with a generous topping of powdered sugar, they hit just the right balance of sweet and tart.
Would you like to save this recipe?
Soft, gooey, sweet, and tart. These lemon bars have a little bit to offer everyone. The shortbread crust provides a firm and slightly crispy contrast to the soft delicate filling. What’s truly wonderful about this dessert is that you likely already have everything you’ll need to make them.
Step By Step Instructions
Note: Full list of ingredients, their amounts, and instructions can be found in the recipe card below.
Step 1:
Preheat oven to 350 degrees F.
Step 2:
In a bowl, cream together the flour, melted butter, sugar, and salt.
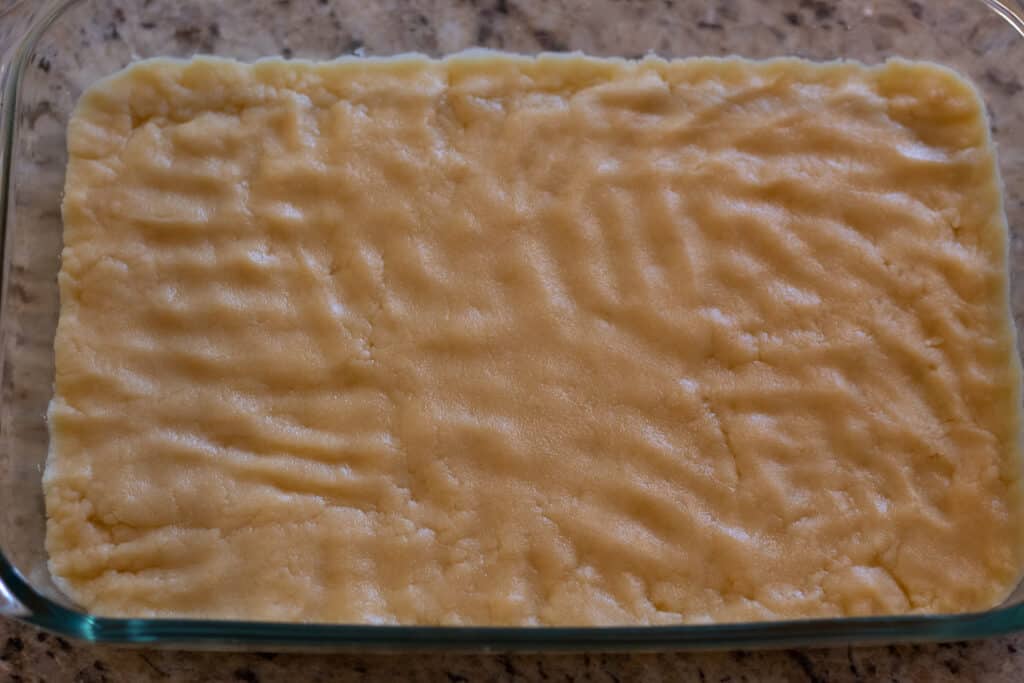
Step 3:
Using your fingers, press the dough into a 9×13 baking dish.
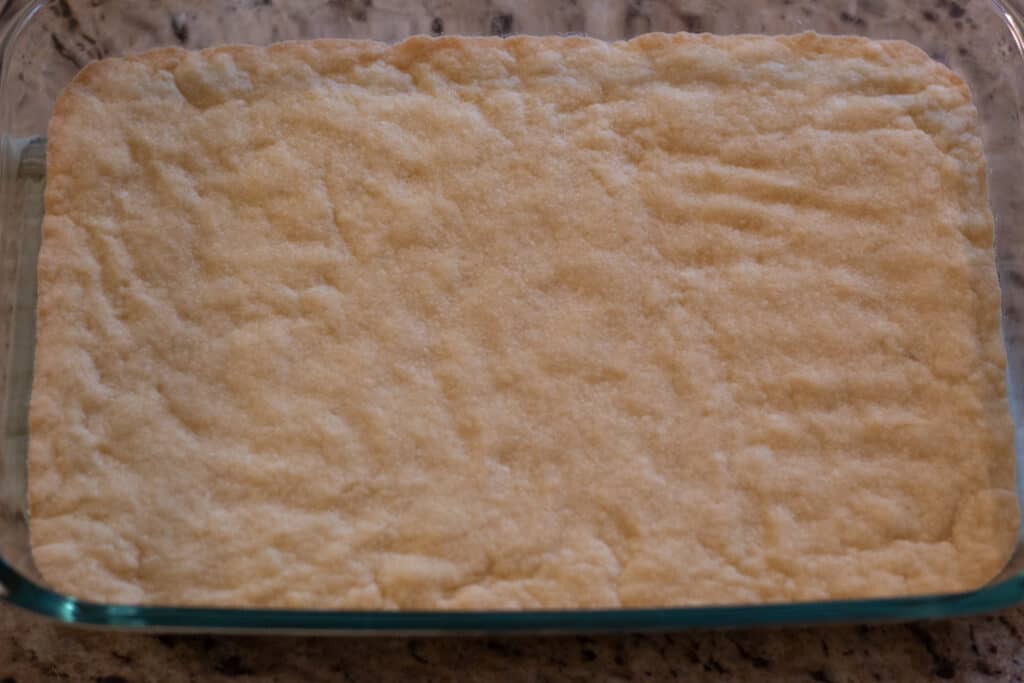
Step 4:
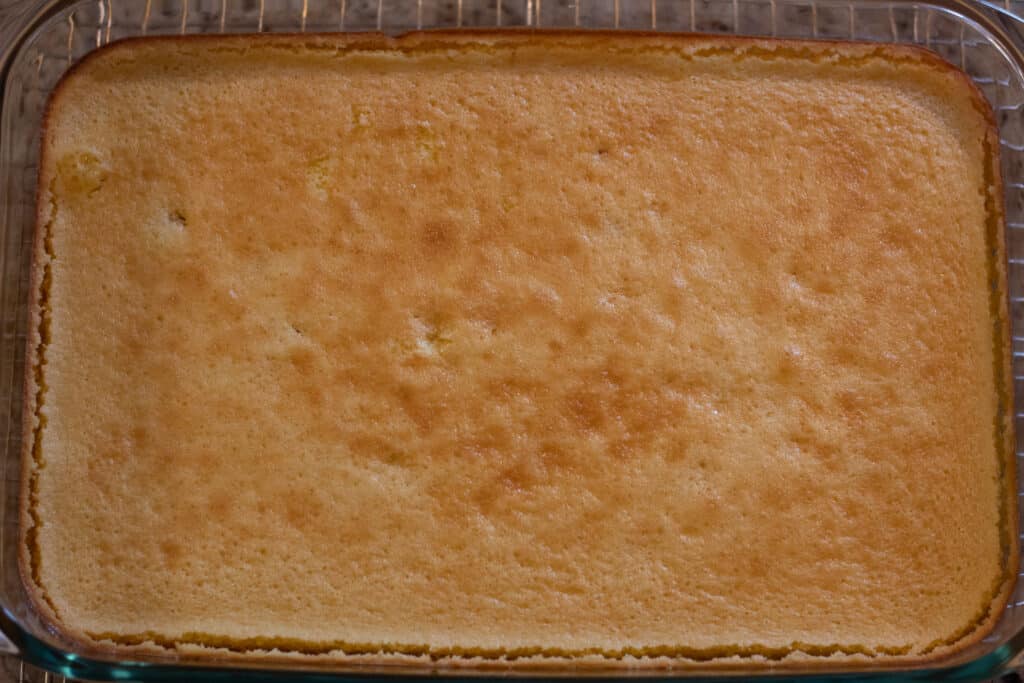
Bake the crust for 15 to 20 minutes, just until the edges become lightly browned.
Step 5:
Meanwhile, in a large bowl, mix together the sugar, flour, and salt.
Stir the beaten eggs into the dry ingredients. Add the the lemon juice and zest.
Step 6:
Pour the filling onto the warm crust.

Step 7:
Bake until the center no longer jiggles when given a gentle shake. The top may become slightly browned and the edges may pull away from the pan.
Step 8:
Allow the lemon bars to cool on the counter for 1 to 2 hours. Then, chill in the fridge for another 2 hours.
Step 9:
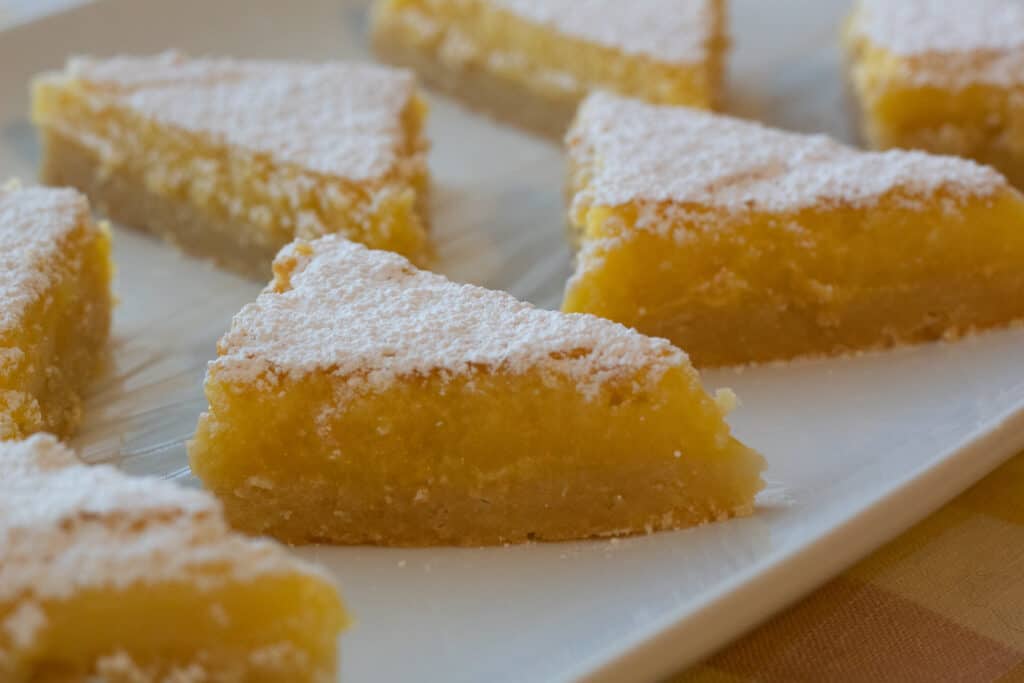
When you’re ready to cut, use a sharp knife and clean it off between slices to keep the edges as smooth as possible. Cut the bars into squares and then into triangles.
Step 10:
Before removing from the pan, sprinkle with powdered sugar using a fine mesh sifter.

Tips
- When pressing out the dough for the crust, don’t worry about getting it super smooth. As long as it’s mostly the same thickness all around, it will be fine. In fact, having small indents from your fingertips will give the filling something to grab on to.
- Be sure to let the bars cool completely before cutting. It will make the job much easier.
- Also, keep a damp paper towel to clean the knife off between cuts. That will result in smoother edges.
Storage
Cover the bars with plastic wrap and store them in the fridge for 2 to 3 days.
For long-term storage, wrap the bars in plastic wrap and store them in the freezer.
Other Desserts You’ll Love!
Blueberry Oat and Almond Crisp
Mixed Berry Sheet Cake with Whipped Mascarpone Frosting
Did you make this recipe?
I’d love to hear about it! Please leave a star rating ⭐️ ⭐️ ⭐️ ⭐️ ⭐️ and comment below!
Let’s Get Social!
I love seeing your photos! If you make this recipe don’t forget to mention @ThisHomeKitchen and tag #thishomekitchen on Instagram!
You can also follow me on Pinterest, Facebook, and Youtube!
Subscribe to My Newsletter!
Get my newest recipes, kitchen tips and tricks, and the latest news right in your inbox!

Lemon Bars
Ingredients
Crust
- 2 cups all-purpose flour
- 1 cup salted butter melted
- 1/2 cup granulated sugar
- 1/4 teaspoon salt
Filling
- 2 cups granulated sugar
- 1/2 cup all-purpose flour
- 1/2 teaspoon salt
- 5 large eggs beaten
- 1/2 cup freshly squeezed lemon juice about 3 lemons
- Zest from 1 lemon
Instructions
Make The Crust
- Preheat the oven to 350 degrees F.
- In a bowl, cream together the flour, butter, sugar, and salt.
- Using your hands, press the dough into the bottom of a 9×13 pan, making it as even as possible.
- Bake for 15 to 20 minutes, or just until the edges get lightly browned.
Make The Filling
- In a bowl, whisk together the sugar, flour, and salt.
- Add in the beaten eggs and stir well.
- Add lemon juice and zest and stir just until combined.
- Pour filling onto warm crust.
- Bake for 20 to 25 minutes. Pull it from the oven when the center no longer jiggles when given a little shake.
- Cool for 1 to 2 hours on the counter, then move them to the fridge and chill another 2 hours before cutting.
- Cut and top with powdered sugar.
Notes
- Store leftovers in the refrigerator.