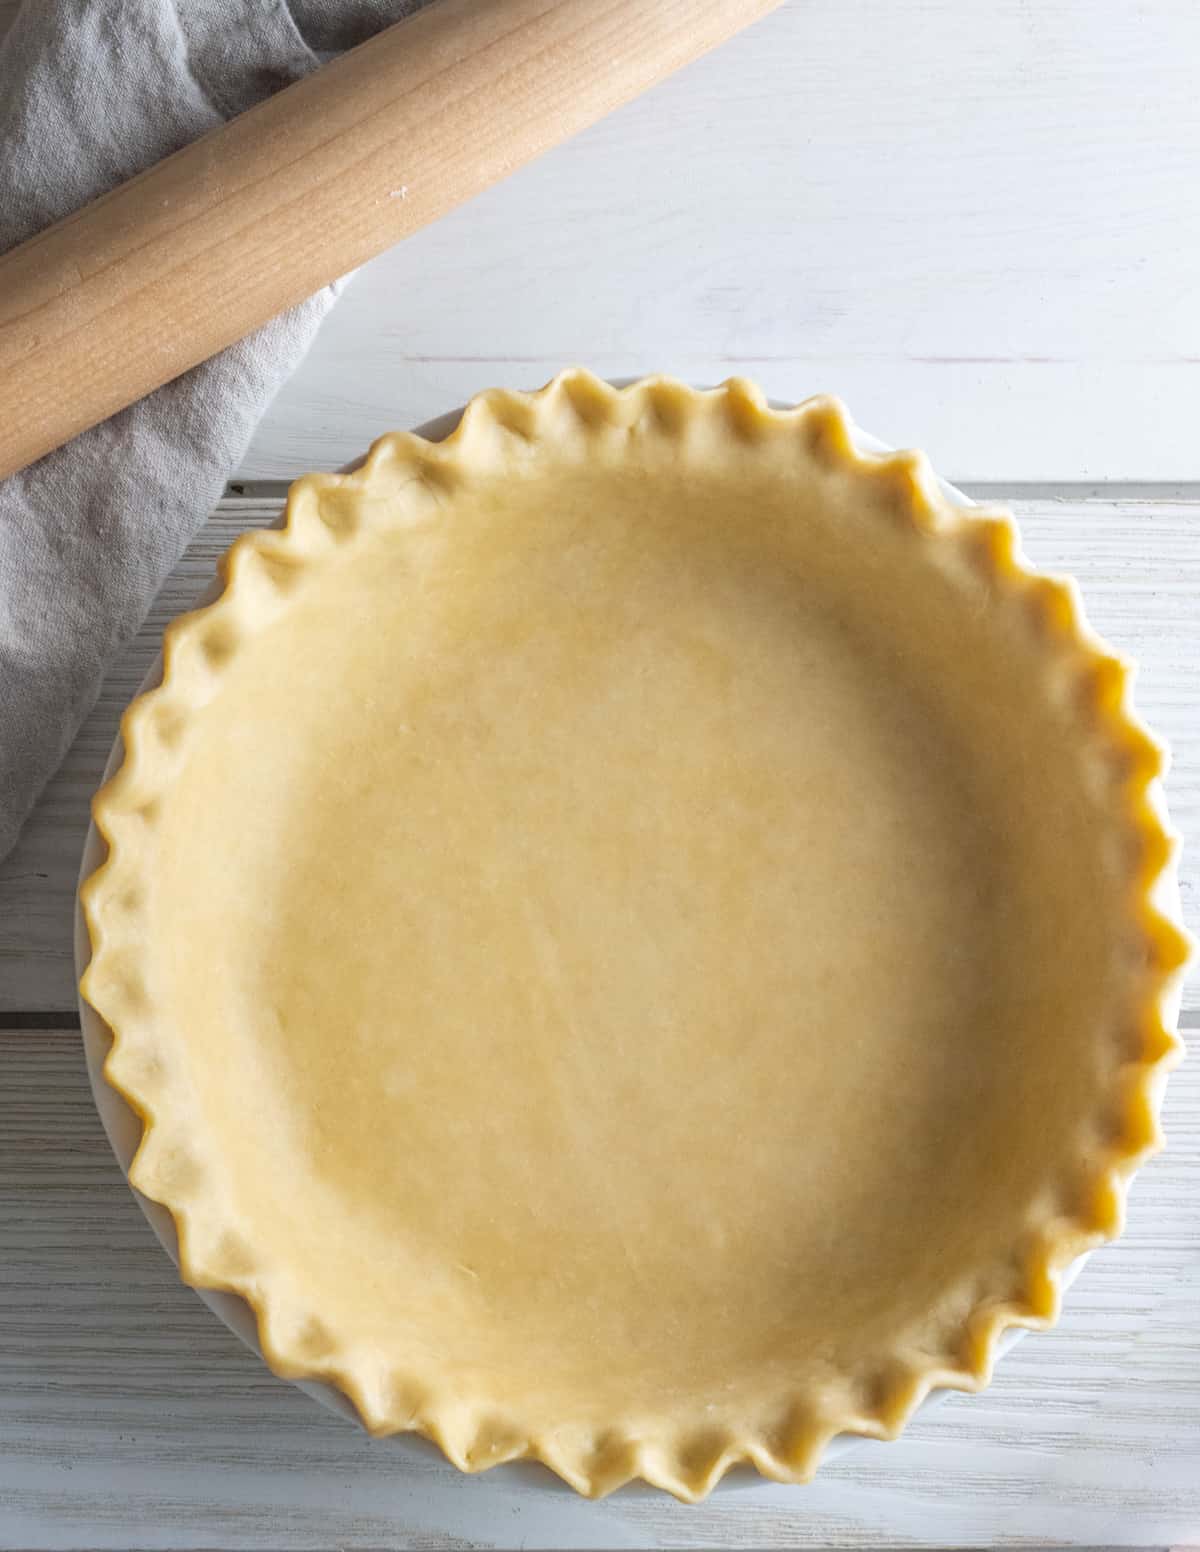
Buttermilk Pie Crust
You’ll love how easy and fool-proof this Buttermilk Pie Crust is! With just a few simple ingredients, you’ll have the perfect flaky pie crust for all of your sweet and savory baking needs. It’s sure to become your favorite pie crust!
Would you like to save this recipe?
When it comes to making pies, you need an easy, fool-proof, flaky pie crust that comes out right every single time. This old-fashioned Buttermilk Pie Crust is exactly that! A simple homemade pie crust that won’t let you down.
Whether it’s sweet pies, like apple pie, pumpkin pie, and pecan pie, or savory pies like chicken pot pie, this versatile and delicious crust has you covered. It truly is the perfect pie crust recipe!
What You’ll Love!
- All-butter crust that is flaky and tender, perfect for all of your pie recipes
- A perfectly flaky crust that pairs well with any pie, sweet or savory
- It’s practically fool-proof thanks to the buttermilk
Ingredients
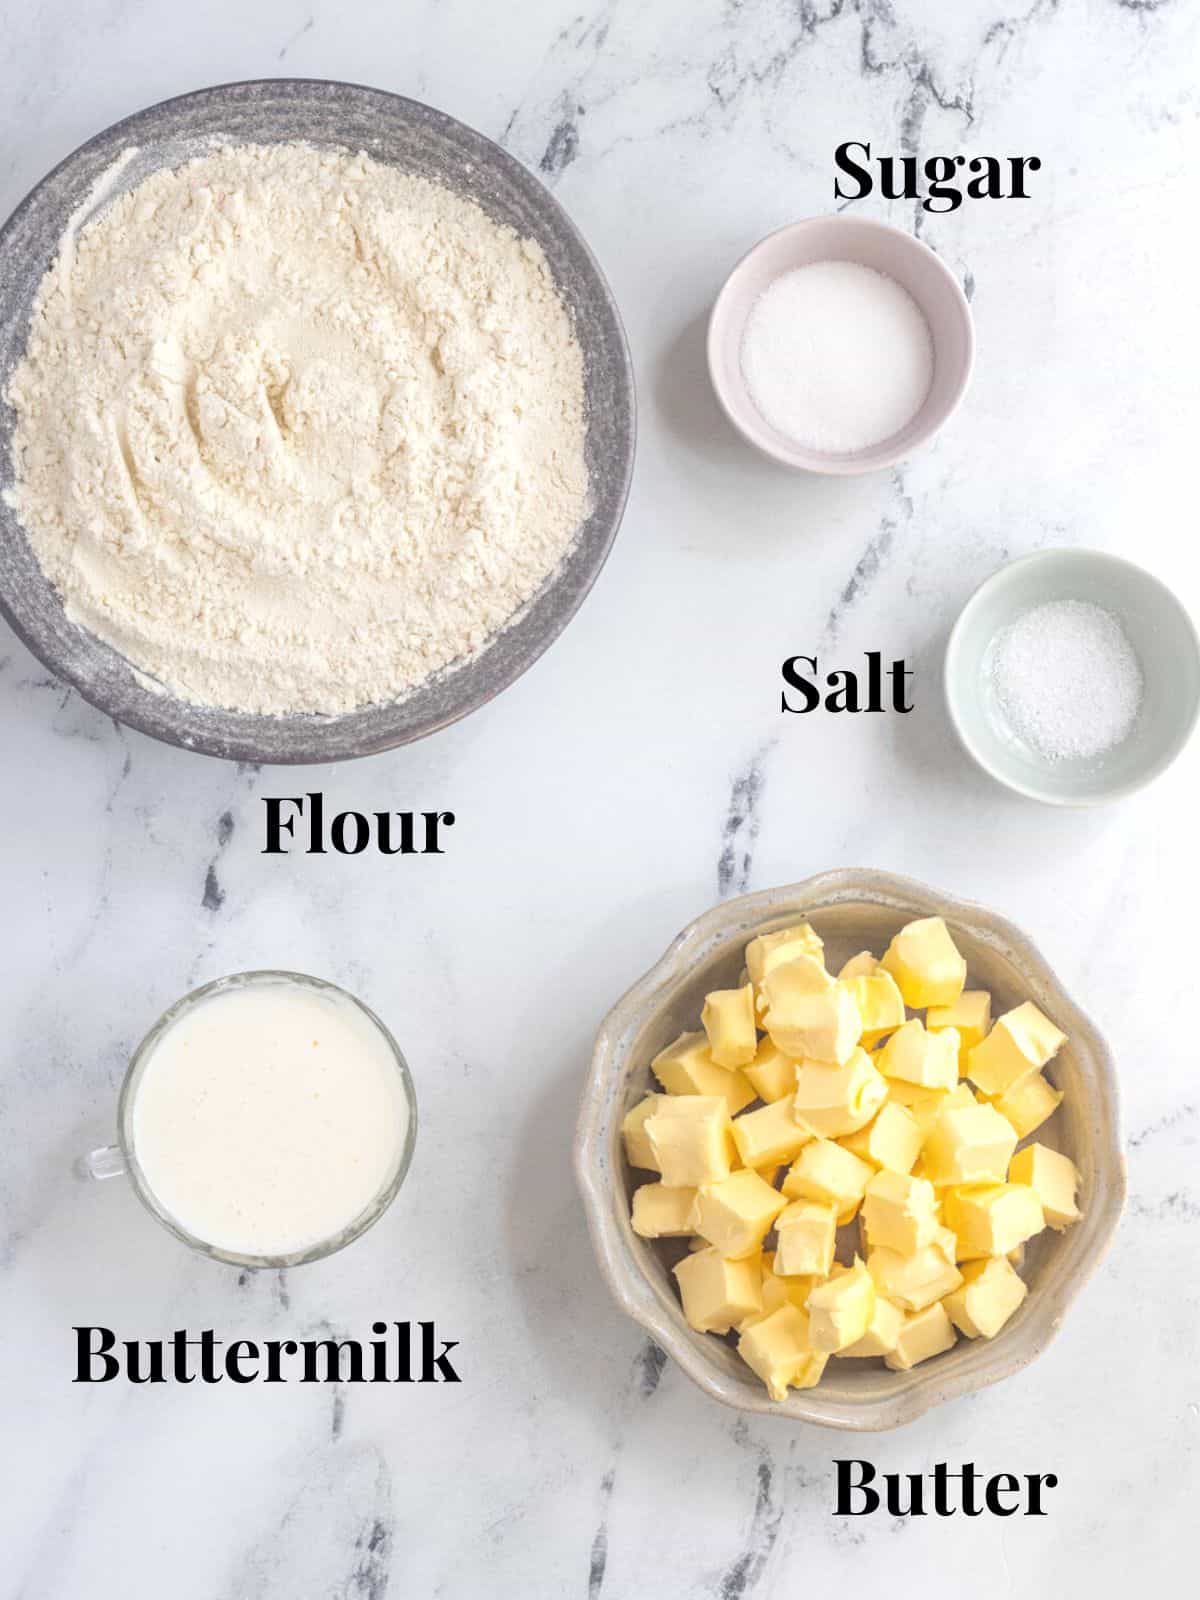
Ingredient Notes
Flour – All-purpose flour is the main dry ingredient and the base of the crust.
Salt – Adds flavor to the crust. I recommend using fine sea or kosher salt.
Sugar – Adds a bit of sweetness to the crust. For savory crusts, you can reduce the amount but I like to leave a bit in there to help with browning.
Butter – Cold unsalted butter is the main fat element in this pie crust.
Buttermilk – Also adds fat as well as structure to the pie crust.
Step By Step Instructions
Note: Full list of ingredients, their amounts, and instructions can be found in the recipe card below.
Note: I highly recommend weighing your flour, butter, and buttermilk. In baking, weighing your ingredients is always preferable to measuring. With pie crusts, that is even more true to ensure the correct amount and have the best results.
Step 1:
In a large bowl, whisk together the flour, sugar, and salt.
Step 2:
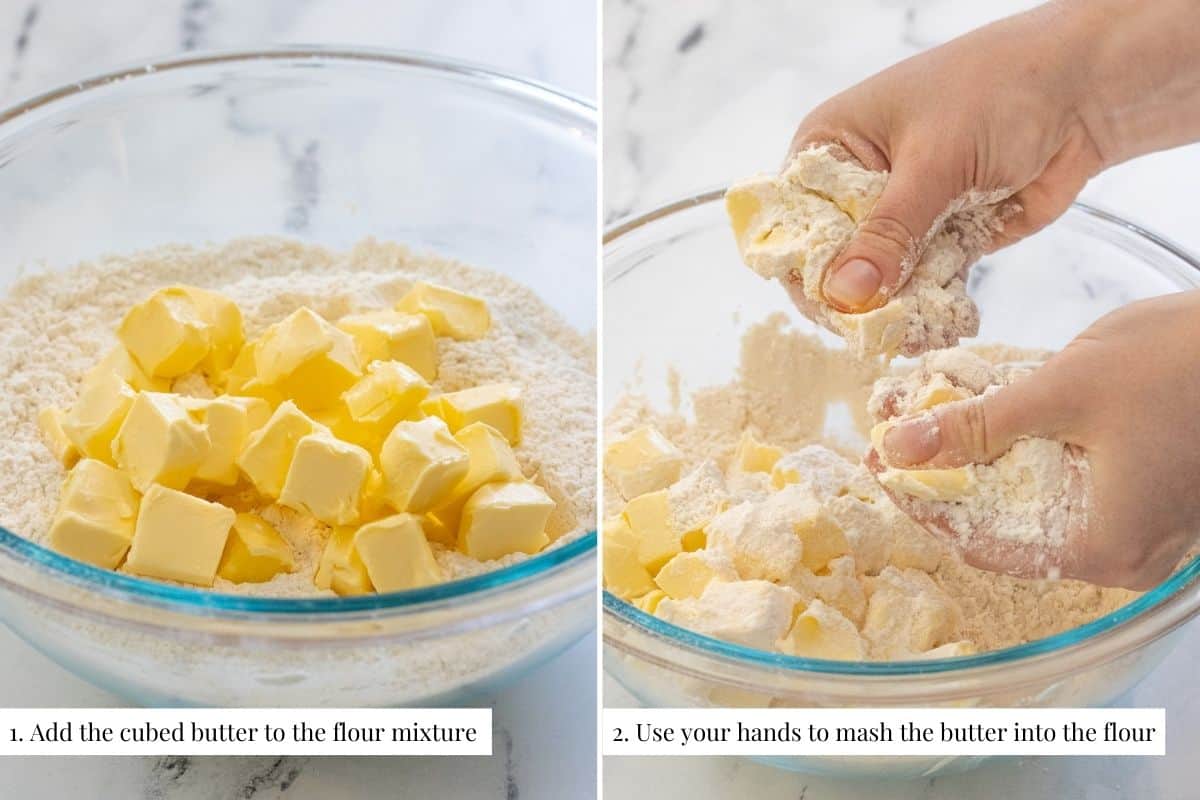
Add the cold butter and, using your fingers, toss the butter cubes in the flour mixture to coat the cubes.
Then, using your thumb against the side of your index finger, mash the flour and butter together. The goal is to create planks of butter coated in flour. Stop once you have a good mixture of butter pieces ranging from pea size to walnut half size.
Note: You can use a food processor or pastry cutter if you prefer but you will almost certainly end up with a much finer texture with little to no large chunks of butter. I highly recommend using your hands for the flakiest texture.
Step 3:
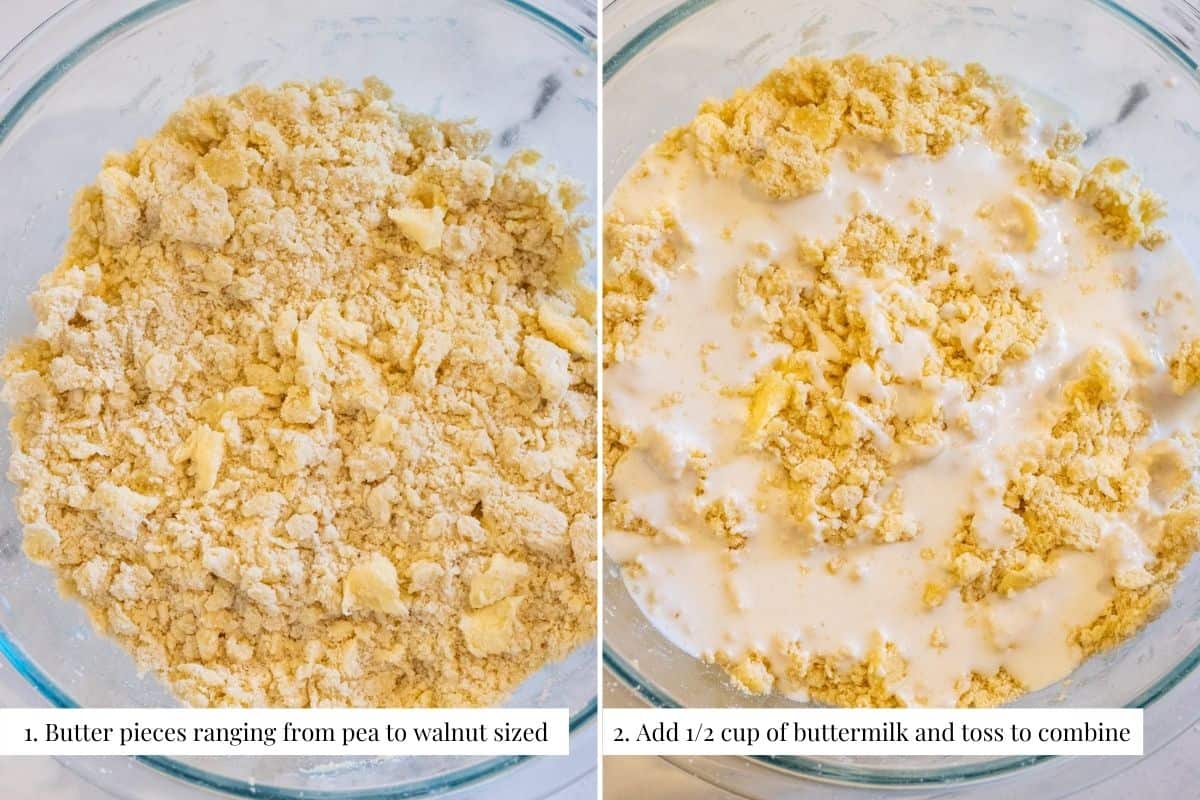
Add the 1/2 cup of buttermilk, reserving the additional 2 tablespoons of buttermilk.
Use your hands or a fork to toss the buttermilk with the flour and butter mixture.
Pinch some of the dough. If it holds together easily, then there is enough buttermilk. If it crumbles and falls apart, add 1 teaspoon at a time until it comes together.
- Note: If you weighed the flour, you’ll likely only need 1/2 cup of buttermilk. If you measured the flour with a measuring cup, you almost certainly scooped more than 12 ounces and will likely need more buttermilk.
Step 4:
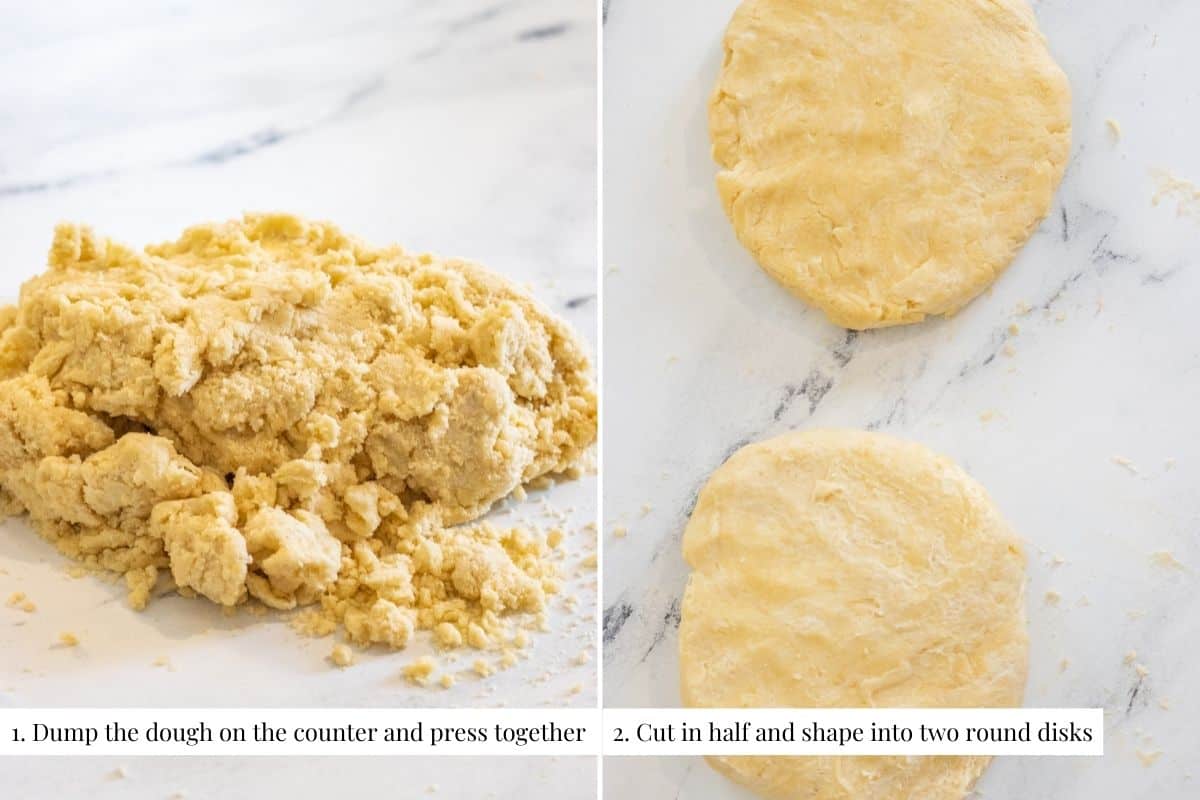
Dump the dough onto your work surface. Using your hands, gently knead the dough by folding it over itself 2 to 3 times. Avoid overworking the dough.
Then, press the dough into a ball and cut the ball of dough in half.
Step 5:
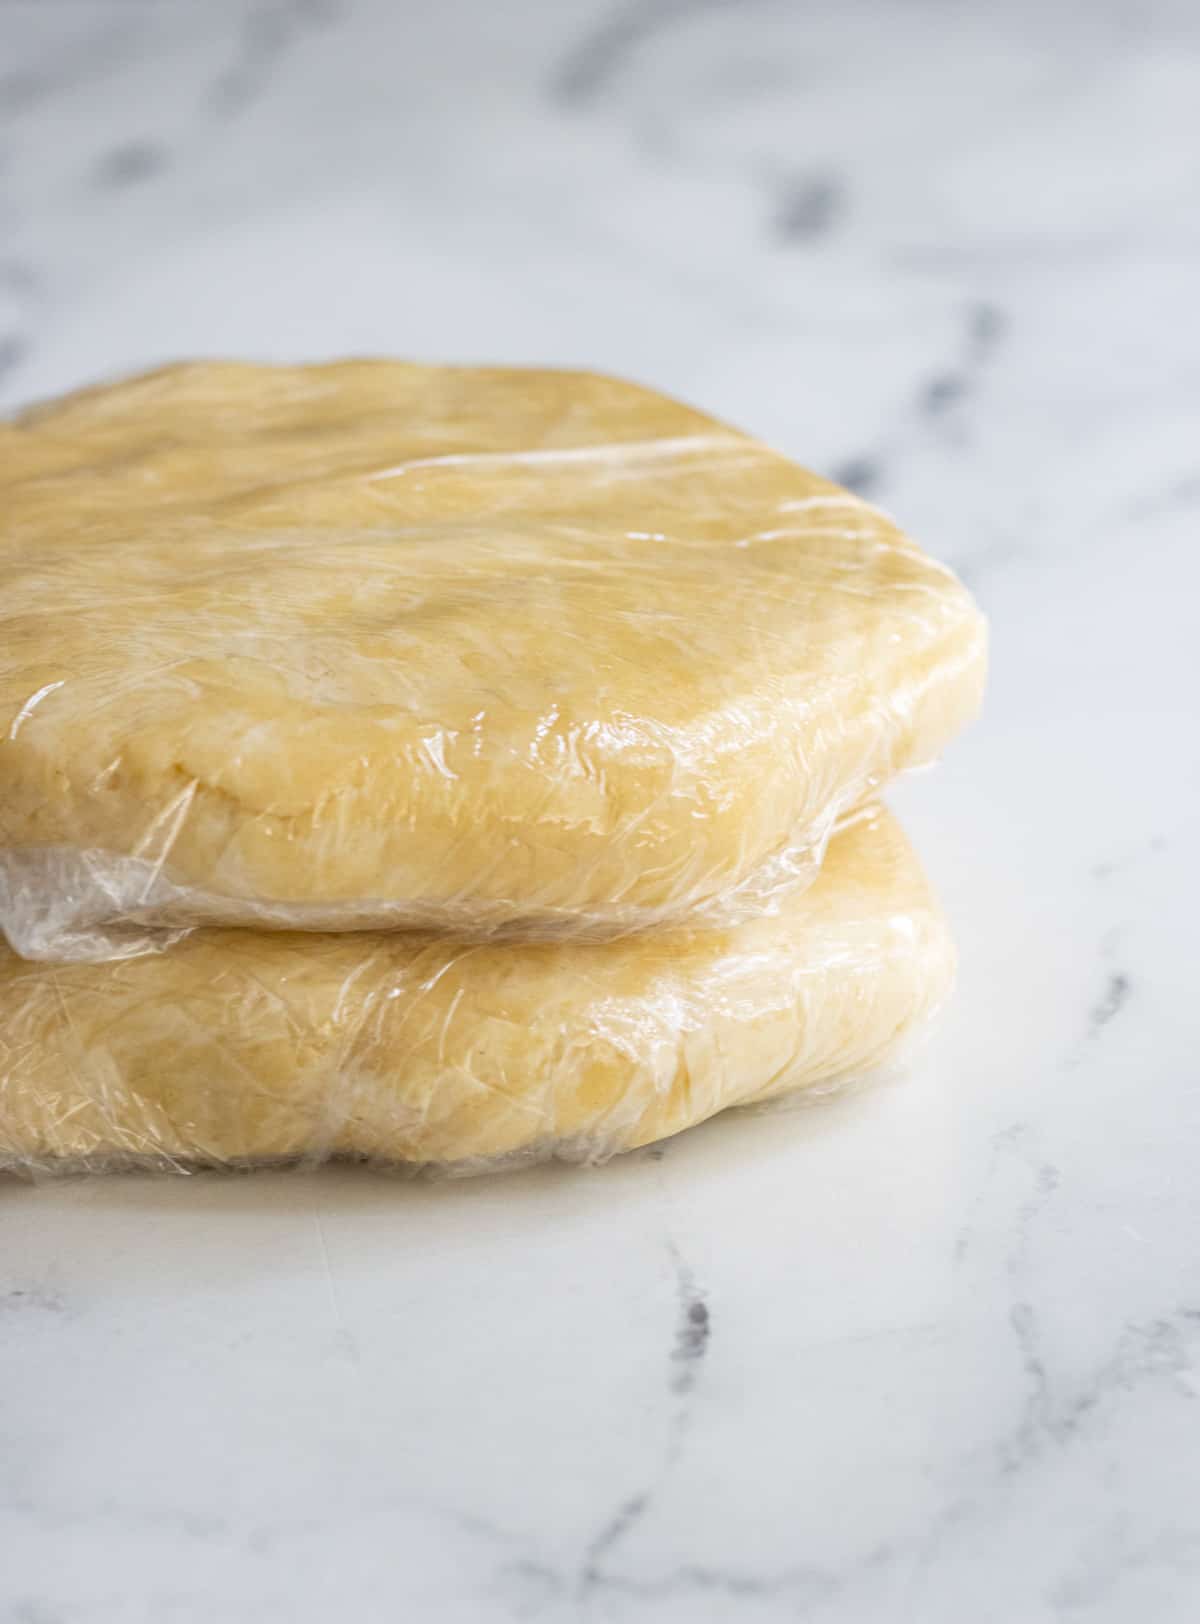
Shape each of the dough halves into round disks. Wrap each disk in plastic wrap and chill for at least 1 hour before using it in a recipe.
Tips & Tricks
- Weigh the ingredients, particularly the flour, butter, and buttermilk. Weighing ingredients is far more accurate and will ensure more consistent outcomes. I cannot stress enough the difference this will make! See my list of tools below.
- Make sure that the ingredients are cold. The buttermilk and butter should be kept in the fridge until you need them. Also, if you’re working in a warm kitchen, you may want to chill the dry ingredients and bowl to help keep everything cool.
- If the dough begins to feel too warm or the butter begins to soften, place the dough in the fridge for about 10 minutes. You can do this at any point in the process.
Storage
You can keep the wrapped pie dough in the fridge for up to 3 days.
You can also freeze the dough for up to 3 months. When you’re ready to use the crust, thaw it in the fridge overnight or on the counter for about 1 hour. Then, proceed as usual.
How To Use
Preparing the Dough
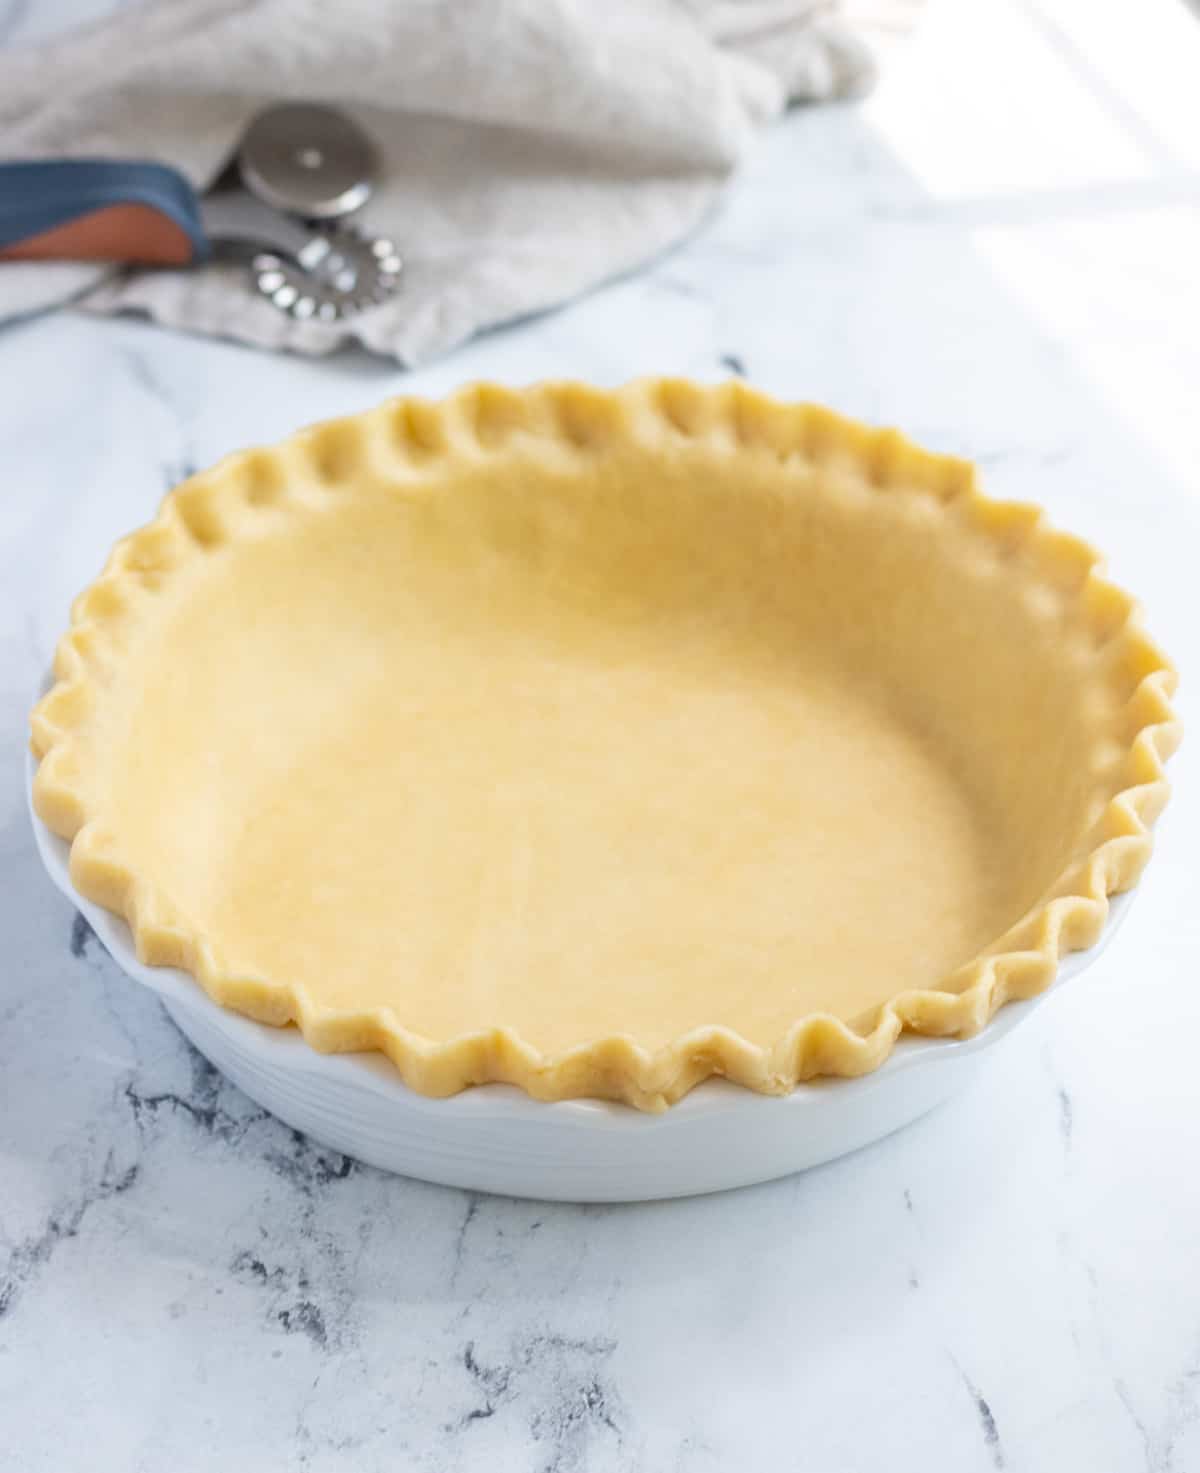
- When you’re ready to use the pie dough, pull the dough from the fridge, unwrap it, and place it on a lightly floured work surface.
- Using a lightly floured rolling pin, roll out the dough by starting in the middle and rolling outward.
- Rotate the dough and repeat until the dough is about 1/8th-inch thick and about 11 to 12 inches wide. If it sticks when you rotate, add a bit more flour to the counter.
- Note: If your dough begins to feel warm or the butter starts softening, place the dough flat on a baking sheet and chill in the fridge for about 10 minutes. Then, proceed with the rest of the recipe.
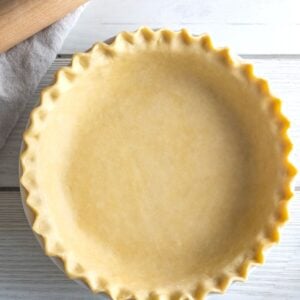
- Lay the dough over the rolling pin to transfer it to a 9-inch pie plate.

Blind Baking Before Filling
Blind baking, also called par-baking, is when you bake an empty crust before filling it.
Sometimes a recipe calls for this to help crisp up the dough before filling to avoid it becoming soggy.
Other times, blind baking is necessary because the filling won’t be baked at all.
When blind baking a pie crust, I recommend using either pie weights or dry beans to prevent the crust from shrinking or sagging down the sides.
To do this, preheat the oven to 375 degrees F. Place a piece of parchment paper in the crust then fill it with the weights or beans.
- If you’re fully baking the crust, bake for 15 minutes, carefully remove the weights and parchment paper, prick the bottom with a fork, then bake another 15 minutes or until golden brown and baked through.
- If you’re only partially baking the crust, bake for about 8 to 10 minutes, just until the crust starts to brown. Remove the weights and parchment paper. Then, fill and continue baking according to the recipe’s instructions.
Filling and Baking
If the recipe doesn’t require par-baking the crust, fill the bottom crust with the pie filling, add the top crust (if necessary), and follow the recipe’s instructions for temperature and length of time for baking.
Kitchen Tools For The Best Pie Crust
Kitchen Scale – weighing your ingredients when making a pie crust makes all the difference. If you want the most consistent outcomes, weighing is crucial.
French Style Rolling Pin – This is my preferred style of rolling pin.
Pie Weights – You can use dry beans to blind bake your crust, I often use dry pinto beans save for that purpose. However, if you want something designed specifically for that task, these pie weights are great.
More Desserts You’ll Love!
Old Fashioned Peanut Butter and Chocolate Pie
Did you make this recipe?
I’d love to hear about it! Please leave a star rating ⭐️ ⭐️ ⭐️ ⭐️ ⭐️ and comment below!
Let’s Get Social!
I love seeing your photos! If you make this recipe don’t forget to mention @ThisHomeKitchen and tag #thishomekitchen on Instagram!
You can also follow me on Pinterest, Facebook, and Youtube!
Subscribe to My Newsletter!
Get my newest recipes, kitchen tips and tricks, and the latest news right in your inbox!
Buttermilk Pie Crust
Ingredients
- 12 ounces (2 1/2 cups) all-purpose flour
- 8 ounces (2 sticks) unsalted butter cold
- 1 tablespoon granulated sugar reduce to 1 teaspoon for savory recipes
- 1 teaspoon salt
- 4 ounces (1/2 cup) buttermilk, plus 2 tablespoons cold
Instructions
- Cut the butter into 1/2-inch cubes. Keep the cubed butter and buttermilk in the fridge until ready to use. (see note #1)
- In a bowl, whisk together the flour, sugar, and salt.
- Add the cold butter. Using your hands, toss the cubes in the flour. Then, using your thumbs against the side of your index fingers, press the butter into planks. Continue working until all of the butter has been pressed and you have pieces of butter ranging from pea size to walnut half size. (see note #2)
- Add 1/2 cup of cold buttermilk and, using your hands, toss to coat the butter-flour mixture. If the dough easily clumps together when pinched, there is enough moisture. However, if the dough crumbles and falls apart, add more buttermilk 1 teaspoon at a time. (see note #3)
- Dump the dough onto your work surface and press it together. Fold the dough over itself 2 to 3 times then shape it into a ball.
- Cut the dough ball in half. Wrap each half in plastic wrap. Chill in the fridge for at least 1 hour before using. (see note #4)
Notes
- It is important that you keep the ingredients cold. If you are working in a warm kitchen, consider chilling the flour and the bowl as well.
- While you can use a food processor or pastry cutter, these methods will almost certainly result in butter pieces that are too small. For the best results, I highly recommend using your hands.
- If you weighed your flour, you likely only need 1/2 cup of buttermilk. However, if you measured the flour, you almost certainly have more than 12 ounces and will likely need the additional buttermilk.
- The dough can be kept in the fridge for up to 3 days before using it. You can also freeze the dough for up to 3 months.